Every woodworking project depends on how well you join your pieces of wood together. Strong joints really come down to good surface prep, tight alignment, and just the right amount of glue and clamping pressure, not only the joint type you pick. Even the simplest joints can last for years if you slow down and do them right.
If you’re just getting started with woodworking, you don’t need fancy techniques to build sturdy projects. Butt joints, lap joints, and pocket holes are three basic choices that give you real strength without complicated tools or years of experience. Each works best in certain situations, and knowing which to use will save you a lot of hassle on your DIY builds.
This guide walks you through each joint step by step. You’ll see how to prep your wood, line up your boards, pick the right glue, and clamp it all down so it stays put while it dries. There are also a few safety habits you should pick up to keep your hands (and your project) safe from start to finish.
Butt Joints: Preparation, Alignment, and Reinforcement
A butt joint is about as simple as it gets for connecting two pieces of wood, but its strength really depends on flat cuts, tight alignment, and picking the right reinforcement. If you get these right, a basic butt joint can hold up in cabinets, frames, and plenty of shop projects.
When a Butt Joint Is the Right Choice
Go with a butt joint when you want speed and simplicity more than max strength. It’s great for face frames, picture frames, drawer boxes, and cabinet carcasses where the main force is compression, not pulling.
Butt joints aren’t great for load-bearing corners that see a lot of stress, like chair legs or table aprons, unless you reinforce them. If you want a clean look with hidden fasteners, this joint works well with pocket screws or dowels.
Think about what kind of force the joint will deal with before you use it. If it just needs to resist gravity or light pressure, it’s probably fine. If it might get pulled apart or twisted, you should consider another joint or some extra support.
Cutting Square Edges and Preparing Contact Surfaces
The joint is only as strong as the surfaces you glue. Start by cutting both boards with a square edge, using a miter saw or a square-guided circular saw for accuracy.
Check your cut with a combination square. Even a tiny gap weakens the glue surface and lets the joint shift under pressure.
Give the cut ends a light sanding to take off saw marks, but don’t round the edges. You want flat, smooth wood for the best contact and glue bond.
Remember, long grain bonds way better than end grain. End grain soaks up glue and doesn’t give much to hold onto, so butt joints that rely on end-grain-to-face-grain glue are weaker and usually need some backup.
Aligning Boards With Clamps and Temporary Guides
Alignment matters a lot. Before you glue, dry-fit the pieces to check the fit and mark reference lines with a pencil.
Clamp the boards in place and check for square corners. Use a speed square or framing square to spot any gaps right away.
For longer joints, screw a temporary guide block to your bench. It keeps boards from sliding around while you work.
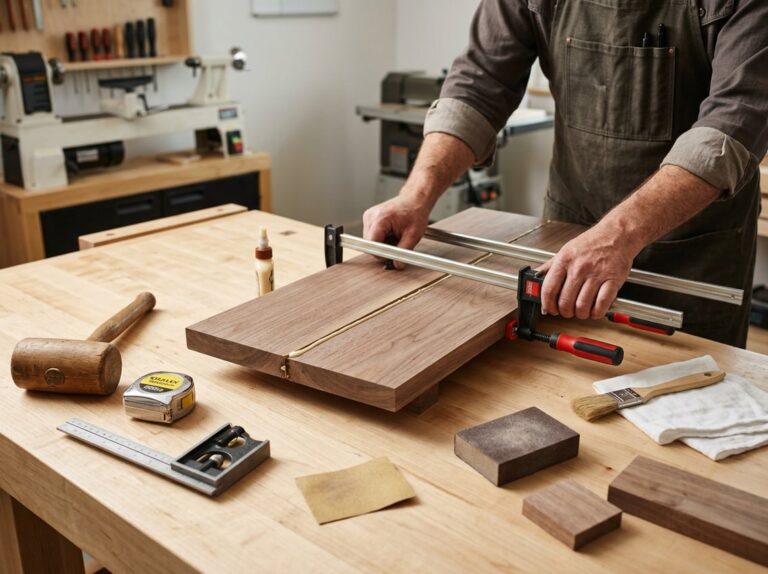
When the fit looks good, spread wood glue evenly across the contact surface. Clamp the pieces firmly, but not so much that you squeeze out all the glue. Wipe away any extra glue with a damp cloth before it dries.
Reinforcing With Screws, Nails, Dowels, and Corner Blocks
Glue alone usually isn’t enough for a butt joint that will see regular use. Fasteners make the joint much stronger against pulling and twisting.
Screws pull boards tightly together and stay secure over time. Pre-drill pilot holes so you don’t split the wood, especially near the ends.
Nails are quick and common in picture frames or light drawer boxes, but they don’t hold as well as screws. Always use them with glue, not by themselves.
Dowel joints are great for strength without visible fasteners. Drill matching holes in both boards and glue in dowels to add glue surface and resist shifting, making these joints solid for face frames and cabinet parts.
For corners that take more stress, attach a triangular corner block inside the joint. This spreads the load and adds stability, especially in bigger cabinets.
Lap Joints: Strong Overlaps for Frames and Supports
Lap joints work by removing material from two boards so they overlap and sit flush. This creates a mechanical lock that adds a lot of strength, making it a good pick for table aprons, frames, and other supports that take weight.
Choosing Full-Lap, Half-Lap, and Cross-Lap Variations
There are three main lap joint styles. A full lap removes all the material from one piece so the other fits into it without changing its own thickness.
A half lap takes out about half the thickness from each piece. Most people use this one because it keeps both boards strong and balanced.
A cross lap is for when two pieces cross in the middle, not just at the ends. You’ll see this in table frames or shelving supports.
Pick your style based on where the boards meet and how much strength you need:
- Full lap: for light-duty joins where one board needs to stay whole
- Half lap: for general joinery, corners, and T-shaped joins
- Cross lap: for X-shaped intersections, like leg supports or lattice frames
Marking Shoulder Lines and Removing Material Accurately
Lay your boards together as they’ll sit in the project. Mark where they overlap using a marking knife or sharp pencil.
Use a square to carry that line down each edge to the halfway point of the board’s thickness. That’s your shoulder line, and it shows how deep to cut.
Mark the cheek line across the board face at that same depth. Accuracy matters more than speed here. If your lines aren’t square and even, your joint won’t sit flush and you’ll lose strength.
Cutting Lap Joints With Hand Tools or Machines
You can cut a lap joint with different tools, depending on what you’ve got.
For hand tools, saw along the shoulder line down to the cheek line. Clamp the board to your bench and chisel out the waste, working in thin layers until you hit the cheek line. A router plane helps flatten the bottom for a clean fit.
With machines, a table saw and dado blade remove waste fast and evenly. A router with a straight bit also works, especially for repeat cuts. No matter what you use, test the fit before committing to the final depth.
Gluing and Clamping an Overlap Without Gaps
Before you glue, check that both surfaces sit flush with no gaps. Any looseness weakens the joint.
Spread glue evenly on both mating surfaces. Don’t use too much, or you’ll end up with squeeze-out and extra cleanup.
Clamp the pieces together while the glue sets. Apply pressure across the whole overlap, not just the edges. Watch that the faces stay flush as you tighten the clamps, since lap joints can slide a bit under pressure.
Let the glue cure completely before handling the joint. Check your glue’s label for the right time.
Pocket Holes: Fast, Hidden Mechanical Joinery
Pocket hole joinery uses angled screws to pull two boards together with solid mechanical force. You’ll need a jig, the right drill bits, and matching pocket screws for clean, hidden results.
Best Uses for Pocket Hole Joinery
Pocket holes are perfect when you want speed and hidden fasteners. They’re common in face frames, cabinets, and cabinet doors.
They’re also handy for tabletops, shelving units, and furniture frames that won’t take heavy twisting force. The joint relies on screw strength, not wood-to-wood fiber bonding, so it’s not ideal for load-bearing joints like table legs unless you add more support.
Use pocket holes when:
- You want to put projects together quickly
- Fasteners will be hidden
- You’re joining softwood or plywood panels
- You want a strong joint without complicated tools
Skip pocket holes on visible surfaces unless you plan to fill and sand the pocket smooth.
Setting Up a Pocket Hole Jig and Selecting Screws
A pocket hole jig guides your drill at a fixed angle, usually about 15 degrees. Clamp the jig to your board according to the thickness setting on the guide.
Most jigs use a stepped bit that makes the pocket hole and pilot hole in one go. Match the bit depth to your board thickness so you don’t drill through the face.
Screw length depends on how thick your material is:
| Material Thickness | Screw Length |
|---|---|
| 1/2 inch to 3/4 inch | 1 inch |
| 3/4 inch to 1 1/2 inch | 1 1/4 inch |
| Over 1 1/2 inch | 2 1/2 inch |
Use coarse-thread screws for softwoods and fine-thread screws for hardwoods and plywood. The wrong screw can strip the hole or not grip well.
Drilling Pocket Holes and Preventing Tear-Out
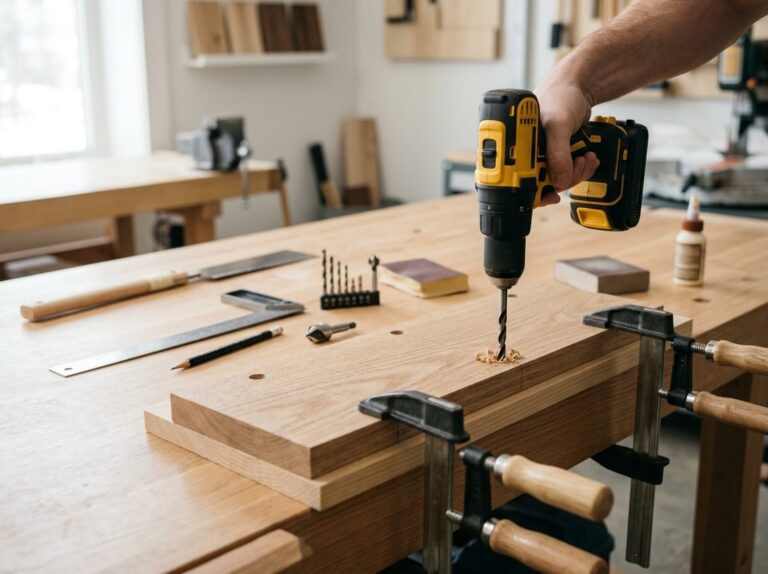
Set your jig to match your board thickness. Clamp the piece so it doesn’t shift while you drill.
Drill at a steady pace and let the bit do its job. If you push too hard, you can get tear-out on the back side of thin boards or splinter the pocket hole opening.
If you’re working with thin stock, back it up with a scrap board. This gives the drill something to exit into and helps prevent splinters.
Clear out wood chips from the pocket before you drive the screw. Leftover chips can keep the screw from seating right, which weakens the joint.
Clamping Parts Before Driving Fasteners
Line up your boards before driving any pocket screws. Use a face clamp or right-angle clamp to hold them in place.
Brush a thin layer of glue onto the joint for extra strength, especially if the piece will see regular use. The glue adds holding power beyond what the screws alone provide.
Keep the clamp in place while driving the screw with a drill or impact driver. Hold steady pressure so the joint doesn’t shift as the screw pulls the boards together.
Check your alignment again after driving the screw. It’s way easier to fix small gaps before the glue sets than after.
Grain Direction, Glue, and Clamping for Lasting Bonds
A strong glue joint comes down to three things: matching long grain to long grain, using the right amount of glue, and applying even clamp pressure. Miss one, and even a clean joint might fail on you.
Why Long-Grain Bonds Outperform End-Grain Glue Joints
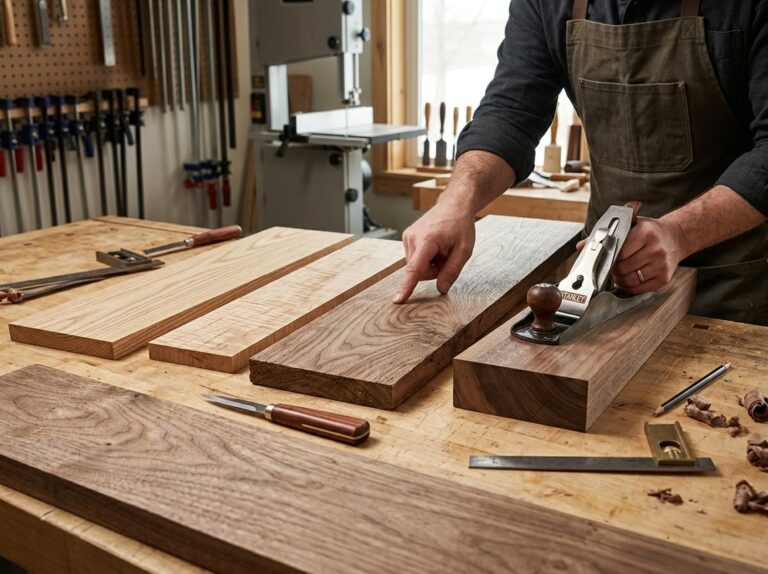
Wood fibers act like tiny straws. When you glue long grain to long grain, the glue soaks into the fibers and creates a strong bond across a solid glue surface.
End grain behaves differently. The open fiber ends suck up glue quickly, but you don’t get much solid surface left to actually hold the joint together. A butt joint made from end grain alone is almost always weaker than the wood itself.
That’s why joints like laps, dadoes, and mortise-and-tenons exist. They add long-grain contact even when boards meet at an angle. If you have to join end grain, add support with pegs, splines, or dowels to help the joint hold up.
Applying the Right Amount of Wood Glue
Spread a thin, even layer of glue on both surfaces. Too little glue leaves dry spots, but too much turns into a mess and weakens the bond.
Use a brush, roller, or glue bottle to get full coverage. With porous woods, try a light first coat, let it soak in for a minute, then add a bit more before clamping.
Look for a thin bead of glue squeezing out along the seam. That’s normal. If you see a river of glue on one side, the joint might not be sitting flat.
Dry-Fitting Parts Before Final Assembly
Always put your joint together without glue first. This dry fit lets you spot problems before it’s too late.
Check that:
- Parts sit flush with no gaps
- Corners are square, if that’s what you want
- Clamps can reach the joint at the right angle
- No parts bind or need too much force
If a joint’s too tight, the wood can crack once you add glue and clamp it. If it’s too loose, glue won’t fill the gap, no matter how much you use. Fix the fit now, since glue won’t fix bad joinery.
Using Clamp Pressure Without Bowing or Starving the Joint
Clamps hold things together while glue dries, but too much pressure can cause problems. If you overtighten, you can squeeze out all the glue and leave dry wood touching dry wood.
Too little pressure leaves gaps that weaken the joint. Try to keep the pressure firm and even along the whole joint.
For wide panels, use several clamps spaced out, alternating above and below the boards. This helps keep things flat and prevents bowing as you tighten up.
Always put scrap wood between clamp jaws and your workpiece. That way, you spread the pressure and avoid dents or clamp marks on your finished wood.
Tools, Safety, and Skill-Building Practice
Good joints need the right tools, safe habits, and a little practice on scrap wood before you go all-in on a real project. Once you get comfortable with the basics, you can try more advanced stuff.
Essential Tools for Simple Joinery
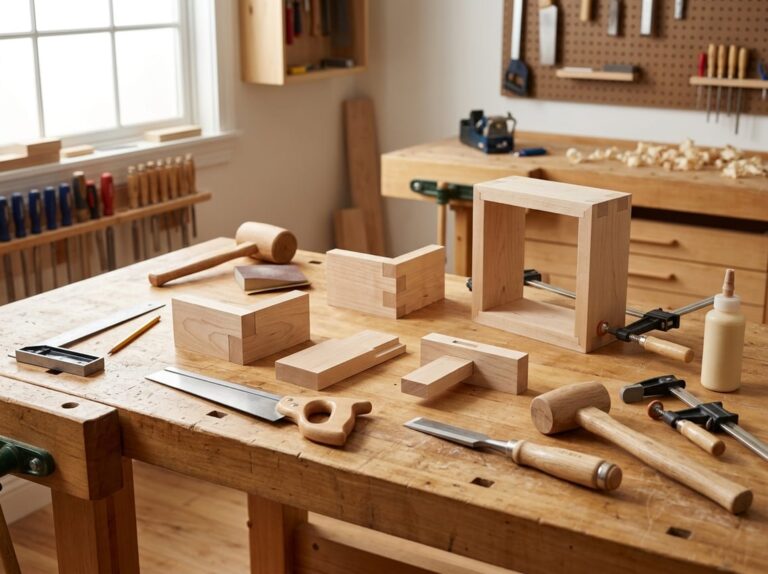
You don’t need a fancy shop to make strong joints. Just a few key tools will get you through most beginner projects.
Here’s what you’ll want:
- Drill and drill bits: for pilot holes and pocket holes
- Clamps: at least two or three, in different sizes
- Chisel: for cleaning up joints and trimming wood
- Sandpaper: for smoothing surfaces before gluing
- Miter saw or table saw: for straight, accurate cuts
- Dowel jig: if you want to use dowel joints
As you get more confident, you might add a router with a straight bit for grooves and rabbets, or a dado blade for cutting wider slots. These let you branch into joints like rabbets or dadoes later on.
Safe Cutting, Drilling, and Clamping Practices
Safety habits matter as much as your tools. Always wear eye protection when cutting or drilling.
Keep your hands away from the blade path on a table saw or miter saw. Use a push stick for narrow cuts.
Clamp your workpiece before drilling pilot holes or pocket holes. That keeps the wood from spinning or shifting, which can make the drill bit slip.
Check that your clamps sit square to the joint before tightening. Uneven pressure can pull a glued joint out of alignment.
Unplug power tools before changing blades or bits. Never rush a cut just to save time, since that’s when most injuries happen.
Practicing Fits on Scrap Before Building Furniture
Before you cut into good lumber, test your joint on scrap. This step catches mistakes early and saves you from wasting good material.
Cut two scrap pieces to match your project pieces. Dry-fit them without glue to check the fit.
The joint should feel snug, but not so tight you have to force it. If it’s loose, tweak your saw or drill setup.
Try this test for each new joint type, whether it’s a butt joint, lap joint, or pocket hole. Skipping this step leads to gaps or misalignment in the final project. A few minutes of practice can save you hours of frustration.
When to Progress to Dados, Rabbets, and Mortise-and-Tenon Joinery
Once you feel good about butt joints, lap joints, and pocket holes, you can try more precise joints. A dado joint uses a slot cut across the grain to hold a shelf or divider. A rabbet is a notch along the edge of a board, often used for cabinet backs or drawer bottoms. You can cut both with a router and straight bit, a dado blade, or a table saw.
The mortise and tenon joint is a bit more advanced. It uses a hole (the mortise) and a matching peg (the tenon) to lock two pieces together, so you don’t have to rely only on glue. You can cut a mortise by hand with a chisel, or use a mortising machine for faster, more consistent results. If you want to try dovetails later, a dovetail saw is handy.
Frequently Asked Questions
These questions cover butt joints, lap joints, and pocket holes, plus things like grain direction, clamping, and safety steps that affect how strong and accurate your joints turn out.
What are the easiest woodworking joints for beginners to make accurately?
Butt joints are the easiest to cut. You just need two square-cut boards pressed together, so there’s not much layout work.
Pocket-hole joints are a close second. A jig guides your drill bit at the right angle, so you don’t need years of practice to get tight, aligned holes.
Lap joints need more skill because you have to cut a notch that matches the thickness of the second board. Start with butt joints and pocket holes before you try lap joints.
When should I use a butt joint, a lap joint, or pocket-hole joinery?
Go with a butt joint for simple boxes, frames, and shelves that won’t carry heavy loads. Glue alone won’t hold a butt joint well, so plan on adding screws, nails, or another kind of reinforcement.
Lap joints work better for frames and things that need to resist twisting, like table legs or door frames. The overlapping wood gives you more surface area for glue, which adds strength without extra hardware.
Pocket-hole joinery is great when you want speed and a clean look on the outside. It’s common in cabinet face frames, drawer boxes, and furniture where the screw holes stay hidden.
How can I make a butt joint stronger with glue, screws, dowels, or brackets?
Glue alone rarely holds a butt joint long-term because end grain doesn’t absorb glue well. Add screws or nails to hold things together while the glue dries and to help resist pulling apart later.
Dowels give you a stronger option. Drill matching holes in both boards, add glue to the dowels, and press the joint together so the dowels line up.
Corner brackets or glue blocks work well on the inside of boxes and cabinets where you won’t see them. Screw the bracket into both faces of the joint for extra holding power against racking and stress.
What is the best way to align and clamp two pieces of wood at a 90-degree angle?
Check your saw setup with a square before you cut. That prevents small errors that make alignment harder later.
Use a corner clamp or speed square to hold the boards at 90 degrees while you check the fit. Once the angle looks right, add glue and clamp the joint with even pressure on both sides.
Check the corner again after clamping, before the glue sets. If the angle shifted, adjust the clamps right away since you don’t get a second chance once the glue dries.
How do wood grain direction and end grain affect glue strength in a joint?
Glue bonds best when it connects long grain to long grain, since the wood fibers soak up the glue and lock together. Long-grain-to-long-grain joints, like edge-to-edge boards for a wider panel, are some of the strongest glue bonds you can make.
End grain doesn’t work the same way. The open fibers soak up glue too fast, leaving a thin, weak layer that breaks apart under stress.
This is why butt joints made end-to-edge or end-to-end need extra reinforcement like screws, dowels, or biscuits. Never trust glue alone when one or both surfaces show end grain.
What safety precautions should beginners follow when cutting and assembling woodworking joints?
Always wear safety glasses and hearing protection when you use a saw, router, or drill. Keep your fingers away from blades and bits, and grab push sticks or clamps for holding small pieces instead of risking your hands.
Double-check your saw or jig setup before making test cuts, because even a tiny mistake at this stage can mess up every joint down the line. Clamp your workpiece so it stays put while you cut or drill.
Keep your workspace tidy, picking up scrap wood, cords, and dust as you go. Unplug your tools before changing blades or bits, and don’t rush through cuts just to get things done faster—it’s just not worth it.