A crooked cut can ruin hours of hard work on a woodworking project. Cutting straight lines comes down to a clear mark, the right tool setup, and steady control from start to finish. Whether you use a hand saw, circular saw, or a guide rail, the basic rules are pretty similar.
Straight cuts aren’t just about looks. They affect how well your pieces fit together in carpentry and DIY builds. If an edge is crooked, your next measurement gets thrown off, and problems add up fast.
This guide covers how to mark your cut line, set up your saw, and use the right technique for clean results. You’ll pick up tips on how wood grain affects your cut and ways to avoid splintering.
Start With Accurate Measuring and Marking
Every straight cut starts with a clear, accurate line. Even small mistakes in measuring or marking will show up in your final cut, so take your time here.
Measure, Reference, and Mark the Cut Line
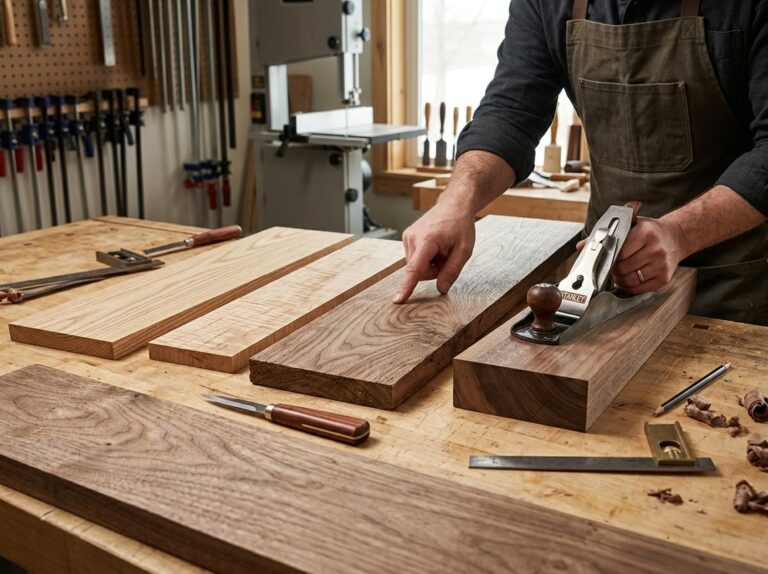
Pick one edge of the board as your reference edge. Always measure from this edge so your measurements stay consistent.
Use a tape measure for longer boards, and a ruler for smaller parts. Mark with a sharp pencil for a thin, clear line.
For really precise work, try a marking knife instead of a pencil. The knife line is thinner and gives your saw blade or chisel a groove to follow.
Always mark from the same reference edge. That way, your measurements stay accurate even if the board isn’t perfectly square.
Make Square Crosscut Lines
Crosscuts need to be exactly 90 degrees to the edge of the board. If you’re even a little off, your cut will be too.
Use a combination square or speed square to draw these lines. Press the square’s edge firmly against your reference edge, then draw your line along the blade.
Double-check your square is resting flush before you commit to the line. Even a tiny gap can throw off the angle.
Identify the Waste Side Before Cutting
Before you cut, decide which side of the line is your keep side and which is your waste side. The saw blade has width, so it removes a thin strip of wood as it cuts.
Shade the waste side with your pencil or mark an “X” so it’s obvious. This quick step helps you avoid cutting your workpiece too short.
Line up your saw so the blade sits on the waste side of the line, not directly on top. Use a straightedge for longer, more controlled cuts if you want.
Double-checking the waste side before cutting takes just a moment, but can save you from ruining a board.
Set Up a Stable, Safe Cutting Station
A safe cutting station keeps your workpiece from moving, your saw from binding, and your body clear of the blade’s path. Getting this right before you cut prevents most accidents and mistakes.
Support Boards and Sheet Goods Correctly
Your setup depends on what you’re cutting. For long boards, use two sawhorses spaced evenly under the workpiece. Place them close enough to prevent sagging, but far enough apart to keep the cut line clear of the horses.
For sheet goods like plywood and MDF, lay the sheet across two sawhorses with rigid foam insulation or scrap wood underneath. This keeps the sheet stable and lets your blade cut through without hitting the horses.
Never let the offcut side hang unsupported. If you do, the wood can sag and pinch the blade near the end of the cut, which leads to a rough edge or a stalled saw.
Secure the Workpiece and Guides
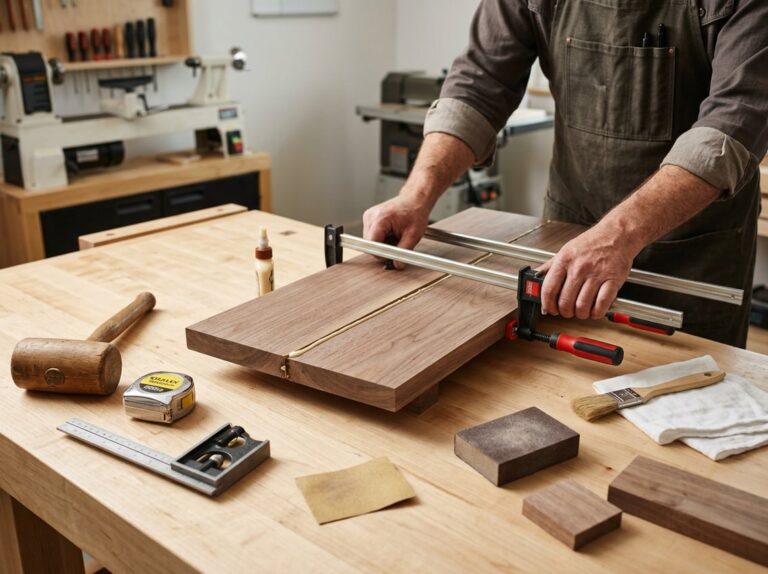
Loose wood will move when you cut, and that ruins straight lines. Clamp your workpiece to your workbench or sawhorses before starting.
Use at least two clamps, and keep them away from the cut line so they don’t get in the way. If you’re using a guide rail or straightedge, clamp it separately and make sure it hasn’t shifted before each cut.
Quick clamping checklist:
- Clamp the workpiece to prevent shifting
- Clamp the guide rail separately
- Keep clamps clear of the blade’s path
- Recheck tightness before each cut
If your workpiece shifts mid-cut, the blade can bind and kick back.
Inspect the Saw and Wear Proper Protection
Check the blade before plugging in any saw. A sharp blade cuts cleaner and puts less strain on the motor. A dull or damaged blade increases the risk of binding or kickback.
Make sure the blade guard moves freely and snaps back into place by itself. Never wedge or tape a blade guard open.
Wear safety glasses to block flying debris, hearing protection for longer sessions, and a dust mask when cutting MDF or sheet goods that make fine dust.
Keep a piece of scrap wood handy to test your saw’s cut quality and check that the blade tracks straight before you cut your real workpiece.
Make Straight Cuts With a Circular Saw
You can cut a straight line with a circular saw, but you need to give it a guide to follow. Set up a straightedge, account for blade offset, and use steady technique for clean rip cuts.
Build or Position a Straightedge Guide
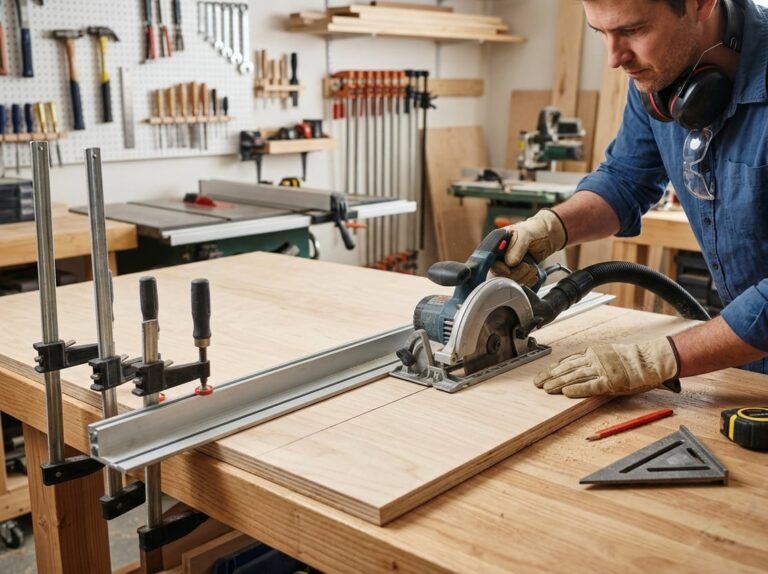
A straightedge guide is the key to a straight cut. Use a factory-edge board, a metal ruler, or a dedicated guide rail made for circular saws.
Clamp the guide to your workpiece so it stays put during the cut. Use at least two clamps, one near each end. Make sure the clamps sit clear of the saw’s path so they don’t block the blade or base.
For long rip cuts, a guide rail works better than a short straightedge. It gives the saw a longer surface to ride against, which helps prevent drift. If you don’t have a rail, you can build a simple jig from plywood and a straight fence strip.
Account for Baseplate-to-Blade Offset
The edge of your saw’s baseplate isn’t where the blade cuts. There’s always a gap between the two. You’ll want to measure this gap before setting up your guide.
To find the offset, place the saw against a straightedge and make a short test cut. Measure the distance from the edge of the guide to the cut line. That’s your offset.
Add this measurement when you position your guide for the real cut. If your saw has an adjustable bevel angle, check the offset again after changing the angle. A different bevel setting changes how much of the blade sticks out past the base.
| Bevel Angle | Offset Change |
|---|---|
| 0° | Baseline offset |
| 15°–45° | Offset increases as angle increases |
Use a Controlled Cutting Technique
Once your guide and offset are set, focus on how you move the saw. Start the saw before the blade touches the wood and let it reach full speed first.
Push the saw forward in one smooth motion, using even pressure the whole way. Try not to stop partway, since that can cause the blade to bind or the cut to wander.
Keep the base of the saw flush against the guide. Don’t let it lift or tilt away from the fence. Watch the blade, not the line, since the guide controls your path.
For rip cuts along long boards or sheets, walk with the saw instead of reaching. That keeps your body balanced and gives you better control.
Choose the Right Saw for the Cut
Different saws work better for different jobs. Picking the right one will help you cut straighter, faster, and waste less wood.
Use a Table Saw for Repeatable Rips
A table saw is the go-to tool for making rip cuts, which run along the length of a board, following the grain.
The fence makes this saw so accurate. Set it to the width you need, and every cut will match. That makes it easy to cut several boards to the same size.
Always use a push stick when your hands get close to the blade. It keeps your fingers away from danger and gives you better control near the end of the cut.
Cutting with the grain on a table saw gives you a cleaner edge since the blade moves smoothly through the wood fibers.
Use a Miter Saw for Accurate Crosscuts
A miter saw is built for crosscuts, which go across the grain, usually to trim a board to length.
The saw pivots left and right, so you can set exact angles for square cuts or miters. That’s handy when you need several pieces cut to the same length or angle.
Line up your mark with the blade before you cut. Hold the board firmly against the fence so it doesn’t shift.
A miter saw gives you clean, straight crosscuts with very little effort. It’s especially useful for trim work, framing, and any project where angles need to match closely.
Cut Straight With a Hand Saw
A hand saw is a simple, reliable choice when you don’t have access to power tools. It works well for smaller cuts or when precision matters more than speed.
Pick a fine-tooth blade for smoother, more controlled cuts. Fewer teeth cut faster but leave a rougher edge.
Mark your line clearly before you start. Keep the saw at a steady angle, usually around 45 degrees, and let the blade do the work instead of forcing it.
Cutting with the grain is easier and gives you a straighter line. Cutting against the grain takes more effort and can make the blade wander.
A hand saw takes practice, but you get full control over the pace and pressure of the cut.
Know When a Jigsaw Is Not the Best Choice
A jigsaw is great for curves and shapes, but it’s not the best tool for long, straight cuts. The blade can flex and wander off your line.
For long, straight edges, use a table saw, miter saw, or a guided circular saw. Those tools give you steadier support and more accurate results.
If you have to use a jigsaw for a straight cut, attach a straight edge guide to help keep the blade on track. That helps, but it’s still not ideal.
For most straight-cutting tasks, other saws will give you cleaner and more consistent results.
Control Grain Direction and Prevent Tear-Out
Wood grain and blade choice both play a big role in how clean your cut ends up. If you pay attention to the grain, pick the right blade for your wood, and keep steady pressure, you’ll have a much better shot at avoiding splinters and tear-out.
Match the Blade to the Wood Species and Material
Different woods need different blades. For hardwood like oak or maple, you’ll want a fine-tooth blade with more teeth to slice through those dense fibers. Softer woods, like pine or fir, can tear out easily, so go with a sharp blade with a moderate tooth count.
Try to cut with the grain whenever you can. That means moving in the same direction as the wood fibers. If you cut against the grain, the fibers might lift and split instead of slicing cleanly.
Check your blade before you start. If it’s dull, it’ll just tear the wood fibers, no matter how careful you are. Swap out or sharpen blades as needed to keep your cuts looking good.
Reduce Splintering on Plywood and Veneers
Plywood and veneer sheets splinter fast because they’re made of thin layers glued together. A fine-tooth blade with 40 to 80 teeth usually does the trick for these. More teeth mean smaller cuts, and that helps keep the edges cleaner.
If you’re using a hand saw, score the cut line with a utility knife before you start. That way, you cut through the top veneer first and keep it from tearing up as the saw moves through.
MDF can chip too if you use the wrong blade. Since MDF doesn’t have a grain direction, a sharp carbide-tipped blade works best. Make sure to support the board fully as you cut so it doesn’t flex and chip on the underside.
Maintain a Smooth Feed Rate Through the Cut
How fast you push the saw through the wood changes the quality of the cut. Move too fast and you might tear the wood. Go too slow and you risk burning or getting an uneven edge.
Keep your pressure even as you cut. Don’t push down hard, just guide the saw and let the blade do its thing along the line.
Try to keep your pace steady from start to finish. If you stop halfway, you can leave marks or even cause the blade to bind. If you’re not sure about the right speed, practice on some scrap wood first to get a feel for it.
Correct Common Problems and Improve Accuracy
Most cutting problems come down to three things: the blade wanders off the line, the saw binds in the middle of a cut, or you end up with an edge that looks straight but really isn’t. Small tweaks to your setup and how you work can usually sort these out.
Fix Wandering Cuts and Misaligned Guides
If your blade keeps drifting off the line, check your saw guide first. A loose clamp or a bent straightedge will mess up every cut, even if your marking is spot on.
Test your straight edge before you trust it. Lay it on something flat and see if there are any gaps.
Quick checklist:
- Clamps: tighten both ends of the guide, not just one
- Blade alignment: make sure the blade runs parallel to the guide, not angled into it
- Feed rate: push the saw at a steady pace; rushing causes drift
- Laser guide: use it if your saw has one, but still follow a physical straightedge for accuracy
These small tweaks fix most wandering cuts without needing to buy new gear.
Prevent Blade Binding and Kickback
Binding happens when the wood closes in on the blade while you’re cutting. That puts pressure on the blade and can cause kickback, where the saw jerks back toward you. Not fun.
To avoid this, support both sides of the cut so the wood doesn’t sag or pinch the blade. On long rip cuts, stick a thin scrap of wood into the kerf behind the blade to keep the cut open.
Keep these in mind:
- Never force the saw if it feels tight
- Check your workpiece is fully supported before you start
- Stand a bit to the side of the blade path, not right behind it
This takes the strain off the blade and helps keep you safe.
Check Finished Edges Before Assembly
Before you glue or fasten anything, check every cut edge for straightness. Hold a straightedge against the cut and look for light gaps, which show where the edge is off.
Run your fingers along the edge to feel for splinters or rough spots. Sand lightly if you need to, but don’t remove so much material that your piece no longer fits right.
If an edge is really crooked, just re-cut it. Forcing it together now will only cause bigger problems when you assemble everything.
Frequently Asked Questions
Straight cuts depend on your tool, how you mark the line, and the setup you use to guide the blade. Here are answers to some common questions about tools, marking, technique, and keeping splinters at bay.
What is the best tool for making straight cuts in wood?
It really depends on your project. For long, straight rip cuts, a table saw or a circular saw with a guide rail gives you the most control.
For shorter crosscuts, a miter saw is quick and accurate. If you’re working by hand, a hand saw with a straightedge or a miter box will help you stay on track.
How do you mark an accurate cut line on a board?
Measure your cut length twice before you mark anything, just to catch mistakes. Use a sharp pencil, since a thick or dull line makes it tough to cut right on the mark.
Line up a speed square or combination square against the board’s edge so your mark is perpendicular. Draw the line all the way across so you have a clear path to follow.
How can you cut straight with a circular saw?
Clamp a straightedge to the board so the saw blade lines up exactly with your marked cut. Rest the saw’s base against the straightedge before you start.
Let the blade get up to full speed, then push the saw forward with steady, even pressure. Keep the base flat against the guide the whole way, and don’t stop in the middle of the cut.
Do you need a guide rail or straightedge for clean wood cuts?
Honestly, yes. A guide rail or straightedge makes a huge difference in accuracy. Cutting freehand means relying on your hand to stay perfectly steady, which is tough over longer cuts.
A clamped guide keeps the saw on a fixed path so the blade can’t drift. This is especially important for long rip cuts, where even a small wobble can throw the whole thing off.
How do you make a straight cut with a hand saw?
Mark your line clearly, then start the cut with slow, short strokes to make a shallow groove. That groove acts like a track to keep the blade from sliding off.
Once you’ve got the groove, switch to longer, steady strokes and let the saw’s weight do most of the work. Watch the line, not the saw, and check your angle every few strokes.
How can you prevent splintering when cutting wood?
Score your cut line with a utility knife before sawing, especially on plywood or veneered boards. By cutting those surface fibers first, you help the saw blade glide through without tearing things up too much.
Keep your blade sharp, since dull teeth just rip the wood fibers instead of making a clean slice. If you put a scrap board under your workpiece, it supports the wood and helps cut down on tear-out underneath.