Starting a new hobby can feel overwhelming with all the gear out there. You might find yourself wondering, “What do I actually need to get going?” Honestly, you just need a handful of basic woodworking tools to begin, not a wall full of fancy equipment.
Many people end up buying tools they’ll barely touch at first. It’s smarter to figure out what each tool does and how it helps with simple projects. That way, you build your skills and only add more tools as you take on trickier builds.
This guide lays out the tools that actually matter when you’re starting. You’ll see what each one does, why it earns a spot in your kit, and how to avoid spending too much. By the end, you’ll have a clear idea of what to buy first.
The Starter Toolkit: 8 Tools That Cover Most First Projects
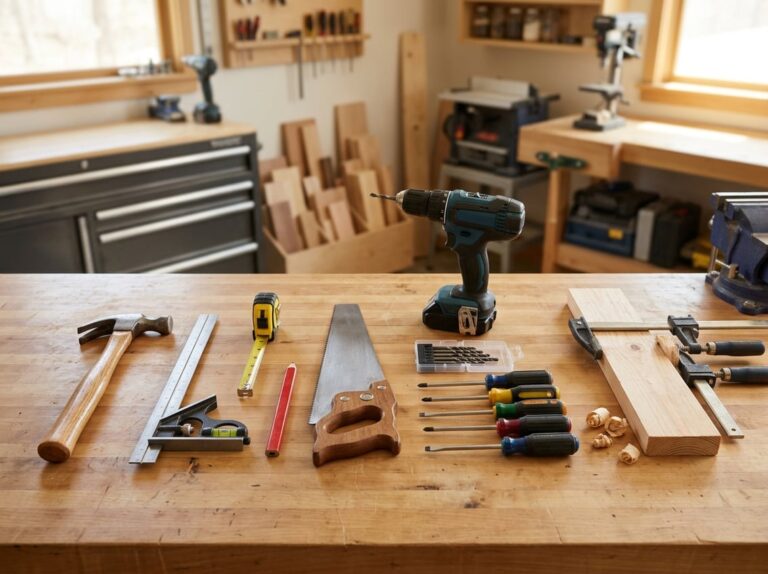
These eight tools cover measuring, cutting, drilling, sanding, and holding wood in place. With just these, you can finish most beginner projects without needing a giant shop.
Tape Measure
This is the first tool to buy. You’ll use it for nearly every project, whether you’re cutting a board or checking if a shelf will fit.
A 25-foot tape measure with a locking button covers most home projects. Go for one with a wide, easy-to-read blade; bold numbers help you avoid those annoying measuring mistakes.
Expect to spend about $10 to $20. It’s a small price for something you’ll reach for again and again.
Speed Square
Speed squares are small, triangular, and super handy for marking straight lines and checking angles. They’re faster and easier than a regular combination square.
Use it to mark 90-degree and 45-degree cuts, which comes up a lot with framing, trim, or basic furniture.
Aluminum speed squares last longer than plastic ones. They’re usually under $15 and fit right in your pocket or tool belt.
Cordless Drill and Drill Bits
A cordless drill is one of those tools you’ll wonder how you lived without. It drills holes and drives screws, which covers a lot of basic assembly.
Pick a drill that comes with two batteries, so one’s always ready. You’ll also want a simple set of drill bits, with sizes from 1/16 inch to 1/4 inch for most small jobs.
Look for a drill with adjustable torque settings. This helps you avoid stripping screws, especially in softer woods like pine.
Miter Saw
A miter saw lets you make precise crosscuts and angled cuts. It’s great for trim, frames, and cutting shorter boards.
A 10-inch miter saw is a solid starter. It handles most beginner tasks, like shelving and small furniture, without breaking the bank.
You get cleaner, faster cuts than you would by hand, and the accuracy really helps with tight joints.
Corded miter saws usually cost less and give steady power for regular use.
Circular Saw
Circular saws are flexible and handle long, straight cuts. They’re perfect for slicing plywood, boards, and bigger panels that a miter saw can’t manage.
Go for a 7 ¼-inch circular saw, which is standard for home projects and works with lots of blade types.
Pair it with a cutting guide for straighter lines. That’s especially helpful when you’re tackling big sheets of plywood.
Circular saws are lighter and easier to stash than table saws, so they’re a good pick if you’re just starting out.
Random Orbital Sander
A random orbital sander smooths out wood before you stain or paint. It spins in little circles, which helps avoid those ugly swirl marks.
This tool works much faster than sanding by hand and gives you a more even finish, especially on flat surfaces like shelves or tables.
Variable speed is nice to have, so you can adjust for different woods and finishes. Start with 120-grit sandpaper for rough stuff, then move to 220-grit for a smoother feel.
Workholding Clamps
Clamps keep your work steady while you cut, drill, or glue. Without them, boards can slip, which leads to bad cuts and weak joints.
Bar clamps are good for holding bigger pieces flat. Pipe clamps work for wide panels, since you can swap in longer pipes as needed.
For starters, try to get:
- 2–4 bar clamps (12–24 inches)
- 2 pipe clamps (36–48 inches)
- A few small spring clamps for lighter tasks
Clamps don’t cost much, but they make a huge difference in how your projects turn out.
Safety Gear
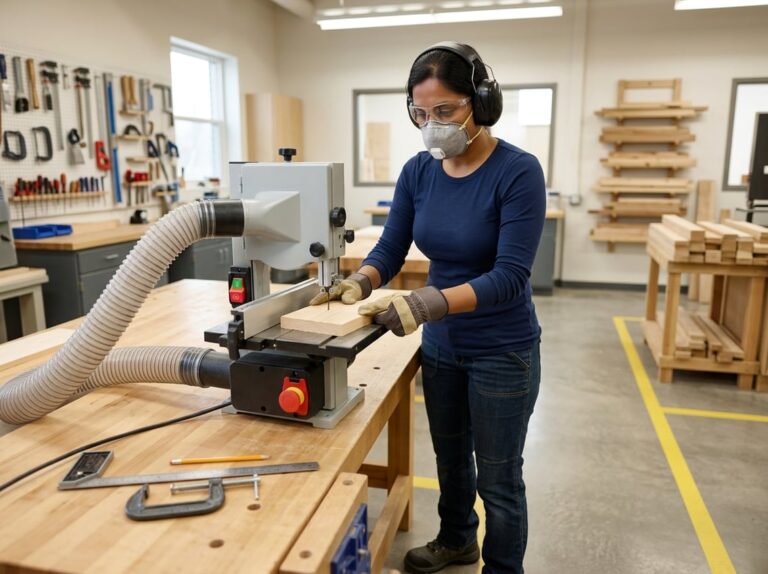
Safety gear keeps you safe from dust, noise, and flying bits of wood. You’ll need it for almost every power tool here, especially saws and sanders.
At the very least, grab:
- Safety glasses to shield your eyes
- Ear protection for noisy tools like saws
- A dust mask or respirator for sanding and cutting
You can find these at any hardware store, and they’re cheap insurance against injury. Wear them every time, even for quick jobs.
Choose a Saw Based on the Cuts You Need
No single saw does it all. Your first saw should match the kind of cuts your projects call for, whether that’s straight crosscuts, long rips, or curves.
Crosscuts and Angled Cuts With a Miter Saw
A miter saw cuts across the grain, making it a great first saw for beginners. The blade comes down onto the board, which stays put, so you get accurate cuts.
It’s perfect for cutting boards to length and making angled cuts for things like frames or trim. A basic 7-1/4″ non-sliding miter saw works for boards up to about 6 inches wide.
If you need to handle wider boards, a 10″ or 12″ sliding miter saw gives you more reach, letting you cut boards up to 12″ or 14″ wide. Most projects using dimensional lumber will need this at some point.
Rip Cuts and Sheet Goods With a Circular Saw
Circular saws are your go-to for rip cuts, those long cuts with the grain. You’ll want one when you’re breaking down big sheets of plywood.
A 7-1/4″ circular saw is pretty much standard for this. Since the saw moves and the wood stays still, using a straight edge helps keep your cuts on track and stops the blade from wandering.
Circular saws do carry more risk than miter saws because of kickback. That’s when the blade binds and pushes back at you. If you’re new, take it slow and always keep both hands on the saw.
Curves and Cutouts With a Jigsaw
Jigsaws are for curves, circles, and shapes that straight saws just can’t do. The blade sits below the saw, which actually makes it one of the safer saws to use.
It’s not meant for long, straight cuts. Instead, it’s great for detail work, like cutting an arch or rounding off shelf corners.
Cordless jigsaws let you move around your project without fighting a cord. Add one when your projects start needing shapes instead of just straight lines.
Measure, Mark, and Check for Square
Good woodworking starts with accurate measurements and clean layout lines. You’ll also need a solid way to check that your cuts and joints are square before you commit.
Marking Accurate Lengths and Layout Lines
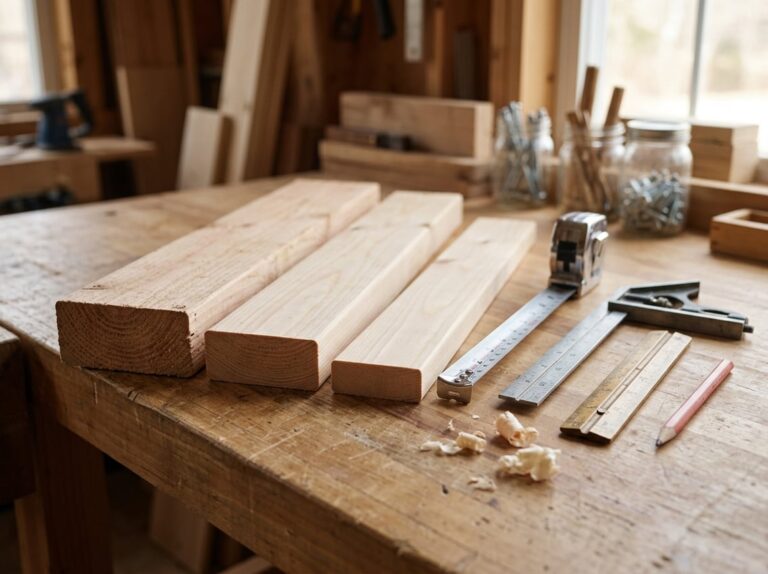
Your tape measure is the go-to for rough measurements and marking board lengths. Get one that’s at least 16 feet long, so you can handle both small and bigger projects.
A tape with a locking mechanism and a wide, sturdy blade keeps your measurements steady while you mark.
A sharp pencil works fine for marking lines. Just watch out for dull tips, since they make thicker lines and can throw off your cuts.
A straight edge helps you draw long, accurate lines across boards or panels. You can also use it to check if a board’s edge is actually flat before you glue pieces together.
Selecting the Right Square for the Job
You’ll want at least one square to check for 90-degree angles and mark straight lines. A try square is a good first pick, since it’s simple and works for basic cuts and joints.
A speed square is also handy, especially for quick angle marks and rough carpentry. It’s small, tough, and easy to use one-handed.
If you plan to build bigger stuff like cabinets or furniture frames, a framing square gives you more reach for marking wide boards or checking big corners.
Here’s a quick look:
| Square Type | Best For | Beginner Friendly? |
|---|---|---|
| Try Square | Small projects, basic joints | Yes |
| Speed Square | Quick angles, rough cuts | Yes |
| Framing Square | Large boards, wide layouts | Yes, once comfortable |
You don’t need all three on day one. Start with a try square or speed square, then grab a framing square as your projects get bigger.
Drill, Fasten, and Assemble With Confidence
A good drill turns hours of hand screwing into minutes of easy work. The right bits and a habit of drilling pilot holes will keep your wood crack-free and your joints tight.
Picking a Versatile Drill/Driver
Your first power tool should be a cordless drill/driver combo kit. It lets you drill holes and drive screws, so you don’t need two separate tools right away.
Go for at least 18 volts of power. That gives you enough torque for most beginner jobs, like installing drawer slides or shelf brackets.
Some features matter more than others:
- Variable speed trigger, so you can adjust speed for different tasks
- Adjustable clutch, which helps avoid stripping screws or splitting wood
- Two batteries, so you can keep working while one charges
You don’t need the fanciest model. A solid mid-range kit from a brand you trust will get you through nearly every beginner project.
Matching Drill Bits to the Task
Not every drill bit does the same thing, so having a small, mixed set really helps. Twist bits are good for general holes in wood. If you want cleaner, more accurate holes, brad-point bits work better since their sharp tip keeps them from wandering.
For bigger holes, like for cabinet hardware, try spade bits or Forstner bits. Forstner bits make a flatter, cleaner hole, which is handy for hinges or dowels.
A basic set with sizes like 1/8 inch, 3/16 inch, and 1/4 inch should cover most beginner projects. You can always add more specialty bits later if you need them.
Preventing Splits With a Pilot Hole
If you drive a screw straight into wood without a pilot hole, it’ll usually split, especially near edges or in hardwood. A pilot hole gives the screw a path and keeps pressure off the surrounding fibers.
Pick a bit just a bit smaller than the screw’s shank. That way, the threads grip but you’re not forcing the wood apart.
For softwoods, a smaller pilot hole is fine. For hardwoods or anything close to the edge, size up a little to avoid cracking. Pre-drilling takes a little extra time, but it really makes your joints stronger and your finished project look better.
Hold, Shape, and Smooth Your Workpieces
After you can measure and cut, you need a way to keep your work steady and clean up rough edges. That means grabbing some good clamps, a sander, and a few hand tools to help you fine-tune things.
Keeping Boards Secure With Clamps
You can’t glue, drill, or shape wood safely if it’s sliding around. Clamps hold your workpiece so you can use both hands for the real work.
Bar clamps are a great place to start. They’re good for gluing boards together or holding pieces flat on your bench.
Pipe clamps are handy once you get into bigger projects, like tabletops or doors. They use a threaded pipe, so you can make them fit almost any size board.
You don’t need a dozen clamps right away. Four to six in different lengths is enough to get started. Add more as your projects get bigger.
A sturdy workbench helps too. It gives you a flat, stable surface for clamping, which makes everything else easier.
Sanding Efficiently for a Clean Finish
Sanding smooths out rough spots and gets wood ready for stain or paint. You can do it by hand, but it takes a while and gets old fast.
A random orbital sander speeds things up. It moves in small, random circles, so you don’t get obvious scratch marks.
You’ll still want sandpaper in a few grits. Here’s a quick guide:
| Grit | Use |
|---|---|
| 80–100 | Removing rough marks or old finish |
| 120–150 | General smoothing |
| 220 | Final pass before finishing |
Start with coarse grit and move up. If you skip grits, the wood might look uneven when you finish it.
Useful Hand Tools to Add Later
Once you’re comfortable with the basics, a few hand tools can really help. A block plane shaves thin layers off wood to smooth edges or trim small bits. It’s great for rounding corners or fixing a drawer that sticks.
Chisels are worth picking up too. You’ll use them to clean out joints, trim wood flush, or shape details that power tools just can’t handle.
No need for a full set right away. A block plane and two or three chisels in common sizes will do for most beginner projects.
Build Your Tool Collection Without Overspending
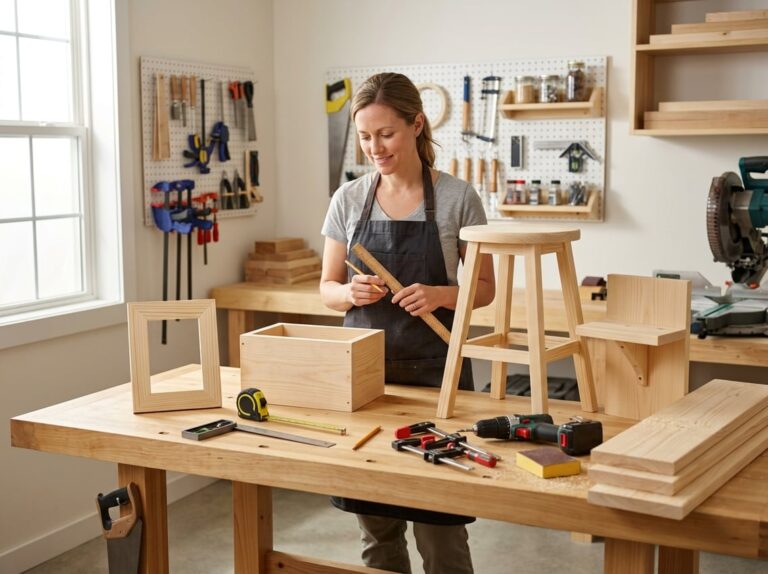
You don’t need a full shop to get started. Just buy what your current project needs, pick quality over lots of features, and hold off on specialized tools until you actually need them.
Buy Tools Around Your Next Project
Don’t rush out and buy every tool on some list. Look at your first project and only buy what you need for that.
If you’re building a simple shelf, maybe all you need is a saw, a drill, and a tape measure. Skip the router or table saw for now.
This saves money and keeps your workspace from filling up with stuff you never touch. As you tackle new projects, you’ll add tools that fit your needs.
Prioritize Accuracy and Safety Over Extra Features
When you pick tools, focus on accuracy and safety. A tool that measures or cuts well is way more helpful than one loaded with features you’ll never use.
For example, a basic combination square that’s actually square is better than a fancy one that isn’t. Same goes for saws and drills: steady and reliable beats extra bells and whistles.
Don’t skimp on safety gear. Always get:
- Safety glasses
- Ear protection
- A dust mask or respirator
These are cheap and protect you every time, no matter your skill level.
Add Specialized Tools as Your Skills Grow
As you get more experience, you’ll want to take on trickier projects. That’s when it makes sense to add specialized tools.
If you start building furniture with joints, a set of sharp chisels or a router will help you get cleaner results. Working with curves? Time to grab a jigsaw.
Wait until you actually need a tool for a project before buying it. It keeps your spending focused and your shop less cluttered.
Set Up a Safe, Practical Beginner Workspace
A safe workspace keeps you from getting hurt and helps you get better results. Before you use any saw or power drill, make sure you’ve got a stable place to work, the right safety gear, and a habit of checking your tools and materials.
Create a Stable Work Surface
Every project needs a solid workbench. If it wobbles, your cuts will be off and you’re more likely to get hurt.
You don’t need anything fancy. A simple, sturdy table with a flat top works for most beginner projects.
Look for these features in a beginner workbench:
- Weight: Heavy enough that it won’t slide when you push or saw against it
- Height: Usually between 34 and 38 inches, so you can work without bending your back
- Clamping space: Room to attach clamps or a vise
- Flat surface: No warping, so your measurements stay accurate
If you’re short on space or cash, a portable workbench with folding legs works fine. You can always upgrade later.
Use Basic Personal Protective Equipment
Woodworking makes dust, noise, and flying debris. Basic safety gear covers all three.
Start with these four items:
- Safety glasses – Protect your eyes from wood chips and dust, especially when using power tools
- Hearing protection – Earmuffs or earplugs help with loud tools
- Dust mask – Keeps sawdust out of your lungs
- Close-fitting clothes – Skip loose sleeves or jewelry that could get caught
You don’t need pricey gear. A basic pair of safety glasses and foam earplugs cost next to nothing and really help.
Wear this stuff every time you use power tools, even if it’s just for a quick cut.
Inspect Tools and Secure Materials Before Cutting
A quick check before you start can prevent most accidents. Before you turn on any power tool, give it a look.
Watch for:
- Loose blades or bits
- Frayed cords or bad plugs
- Cracked housings or guards that stick
- Dull blades, which can cause kickback
Once your tool looks good, clamp down your material. Don’t try to hold a board with your hand while cutting near it, that’s how a lot of beginners get hurt.
Take a second to plan your cut. Make sure your hands, cord, and body are out of the way before you pull the trigger.
Frequently Asked Questions
Here are some quick answers to common questions about picking your first woodworking tools, what they do, and how to build a starter kit without overspending.
What are the first woodworking tools a beginner should buy?
Start with a tape measure, a combination square, a hand saw, a cordless drill, and sandpaper. These five tools cover measuring, cutting, drilling, and finishing.
Add some clamps and a block plane once you’re comfortable. No need to buy anything else right away.
Which hand tools are essential for starting simple woodworking projects?
A combination square helps you mark straight lines and check corners. A hand saw lets you make cuts without needing power.
Clamps hold pieces together while glue dries. A chisel or two is handy for cleaning up joints and edges.
Do beginners need power tools to start woodworking?
Nope, you can build simple projects with just hand tools. Lots of woodworkers start with a hand saw, a block plane, and some chisels.
That said, a cordless drill saves a lot of time for drilling holes or driving screws. It’s one of the few power tools worth getting early.
What does each basic woodworking tool do?
A tape measure checks length and distance for cuts and layout. A combination square checks for square edges and marks angles.
A hand saw cuts wood to size, and a drill makes holes and drives screws. Sandpaper smooths surfaces before paint or stain.
Clamps hold things steady while glue sets, and a chisel cleans up joints for a tighter fit.
How can I build a starter tool kit without buying a full workshop?
Just pick up tools as you need them for whatever project you’re working on right now. Grab the basics first: tape measure, square, saw, drill, and some sandpaper.
Sometimes you’ll find tool sets that bundle a few essentials, and they’re usually cheaper than buying each one alone. Wait to get specialty stuff, like a router or table saw, until you really need it for a specific project.
Which tools are best for measuring, cutting, and assembling wood?
If you’re measuring, grab a tape measure and a combination square. They’re great for marking lines and making sure your edges are square. For cutting, I usually reach for a hand saw when I want a straight cut, but if you need to tackle curves, a jigsaw makes life easier.
When it comes to assembling, clamps help keep everything steady, and a drill comes in handy for driving screws. With these tools, you can handle most beginner woodworking projects, though you might find yourself wishing for a few extras as you go.