Wood splits when you drive a screw or nail too close to the edge or end of a board. The wood fibers just can’t bend enough, so they crack under the pressure. You can prevent wood splitting by pre-drilling pilot holes, choosing the right screw size, and paying attention to grain direction before you drive any fastener.
Wood cracks are a headache for woodworkers, and they can ruin a project in seconds. Luckily, splitting is usually easy to avoid once you know what causes it. Small tweaks in your technique, like matching your bit size to your screw and slowing down near end grain, really help.
This guide covers practical steps for keeping wood from splitting, from drilling pilot holes the right way to avoiding rookie mistakes. You’ll see how to choose the right tools, drive screws cleanly, and protect your work from cracks before they even start.
Why Wood Splits During Woodworking
Wood splits when internal stress pulls fibers apart faster than they can hold together. Grain direction, moisture changes, and where you cut or drive fasteners all affect how much stress the wood can handle before it cracks.
Wood Fibers, Wood Grain, and Grain Direction
Wood is made of long fibers running in one direction, called the grain. These fibers are strong along their length but weak across their width.
This is why wood splits easily in one direction but not another. When you cut, drill, or drive a screw, you’re either working with or against these fibers.
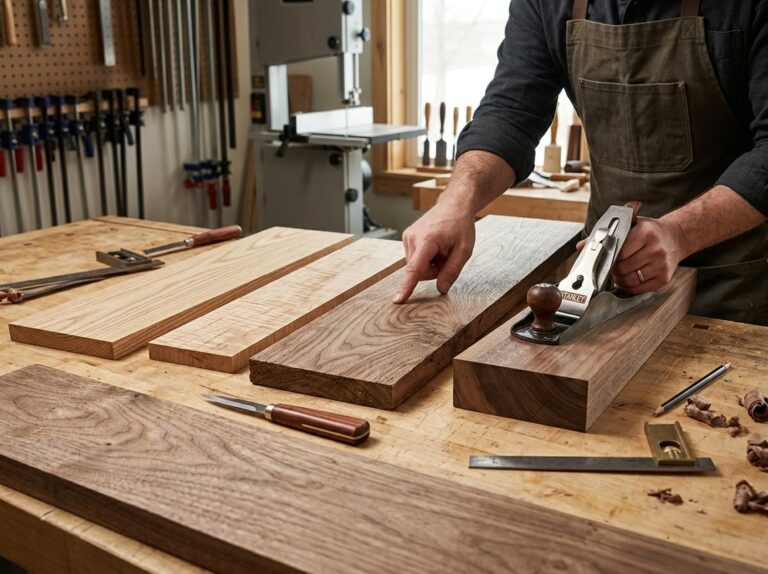
Grain direction can change throughout a board, especially near knots or curves. It’s worth checking grain direction before cutting or fastening.
If you work against the grain carelessly, you create stress points. These often become cracks later, even if the wood looks fine at first.
Wood Checking Versus Structural Splits
Wood checking and structural splits aren’t the same. Checking means small surface cracks that form as wood dries. These usually show up at the ends of boards and don’t go deep.
Structural splits are different. They run deeper and can weaken a project or even cause a piece to break apart.
| Type | Depth | Cause | Risk Level |
|---|---|---|---|
| Checking | Surface only | Uneven drying | Low to moderate |
| Structural split | Runs through the board | Stress from fasteners, force, or grain weakness | High |
You can usually sand out small checks. Structural splits often mean you need to replace the wood or patch it with fillers or splines.
Moisture Content, Humidity, and Wood Movement
Wood absorbs and releases moisture depending on the humidity around it. When humidity changes, wood expands or shrinks. This is called wood movement.
Wood doesn’t move the same in every direction. It moves most across the grain and very little along its length. That uneven movement creates stress inside the board.
Seasonal wood movement is just part of woodworking. In summer, higher humidity makes wood swell. In winter, drier air causes it to shrink.
If wood dries unevenly, one part shrinks faster than the rest. That tension can cause cracks, especially near the ends of a board.
Why End Grain and Board Edges Are Vulnerable
End grain is the exposed tip of the wood fibers, usually at the ends of a board. It soaks up and releases moisture much faster than face grain or edge grain.
This quick moisture change causes the ends to dry out before the rest of the board. That mismatch creates stress, which is why most splits start at board ends.
Edges are weak spots too. There’s less wood fiber supporting the area near an edge, so screws or nails placed too close can force the wood apart.
Growth rings play a part as well. Boards cut near the outer rings often move more than boards from the center, so they’re more likely to split under stress.
Choose and Prepare Stable Lumber
The wood you pick and how you prep it will decide whether your project stays crack-free. Species, moisture content, and storage conditions all affect how much a board moves and whether it splits.
Selecting Quality Wood and Suitable Species
Start with wood that has no visible cracks, knots, or checking on the ends. Dense hardwoods like oak, maple, and walnut resist splitting better than softer woods.
Cherry and teak also hold up well because their tight grain structure limits movement. Softwoods like pine, fir, and cedar split more easily, especially near the edges and ends.
White oak works well for outdoor projects since it resists both splitting and rot. Poplar is affordable and stable but softer, so you need to handle it carefully near fasteners.
Look for straight-grained wood if you can. Grain that runs in one direction is much less likely to crack than wood with wavy or irregular grain.
Green Wood, Dried Wood, and Kiln-Dried Lumber
Green wood, or wet wood, still holds a lot of moisture from the tree. As this moisture leaves, the wood shrinks and might crack.
Dried wood has lost most of its internal moisture through air drying. This process can take months or even years, depending on the board’s thickness.
Kiln-dried wood dries faster using controlled heat, which brings the moisture down to a stable range. Most furniture and indoor projects use kiln-dried lumber because it moves less over time.
Use a moisture meter to check a board before you cut it. Aim for a reading between 6% and 8% for indoor furniture, since this matches typical indoor humidity.
Acclimating Lumber Before Cutting and Assembly
Wood keeps adjusting to humidity, even after kiln drying. Bring lumber into your shop and let it sit for a week or two so it can match your workspace’s moisture level.
Stack boards with spacers, called stickers, so air can reach every surface. This step matters most when you move wood from a cold garage into a warm, dry shop.
Skipping this step is a common reason boards split after assembly. A board that seems stable might still shrink or twist once it adjusts to a new environment, and that movement can crack joints or the wood itself.
Storing Wood to Prevent Uneven Drying
Store lumber flat and off the ground to avoid warping and uneven drying. Use a rack or stack boards with stickers spaced evenly along their length.
Keep your wood away from direct sunlight and heat sources like vents or radiators. Sunlight dries one side of a board faster than the other, which creates stress that leads to cracks.
Try to keep your storage area at a steady humidity level all year. Sudden changes in temperature or moisture cause wood to expand and contract unevenly, and that uneven movement is a big cause of splits before you even start cutting.
Pre-Drill Pilot Holes Correctly
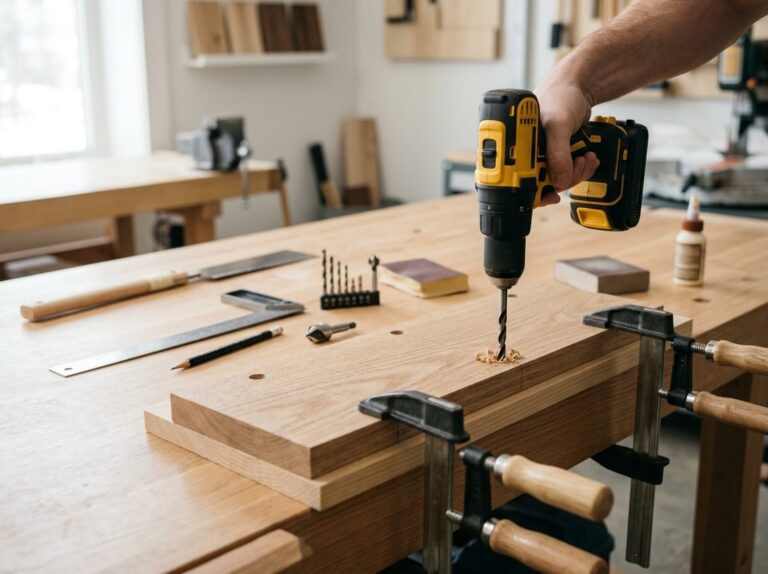
A pilot hole is a small hole you drill before driving a screw. It stops wood from splitting and helps you place screws right where you want them.
When Pre-Drilling Is Essential
You should always pre-drill when you work near the end of a board or close to an edge. Wood splits most easily in these spots because there is less material to hold the fibers together.
Pre-drilling matters with hardwoods like oak or maple. These woods are dense, so a screw driven straight in can crack the surface before it goes in fully.
Softwoods like pine need pilot holes less often, but you should still drill one if the screw is thick or the board is thin. Thin boards split faster because there isn’t much wood to absorb the pressure.
If you skip pre-drilling on delicate trim or molding, you risk ruining the piece. A quick pilot hole takes seconds and saves you a lot of hassle.
How to Match Drill Bit Size to Screw Diameter
Your drill bit should be a bit smaller than the screw’s shaft, not counting the threads. This lets the threads grip the wood while the shaft passes through smoothly.
For softwood, pick a bit that’s about 90% of the screw’s shaft width. For hardwood, go a little bigger, around 95%, since hardwood needs more clearance to avoid cracking.
A simple way to check bit size is to hold the bit in front of the screw and look at them against the light. The bit should cover the solid center of the screw, but you should still see the threads sticking out on each side.
| Screw Size | Softwood Bit Size | Hardwood Bit Size |
|---|---|---|
| #6 | 3/32″ | 7/64″ |
| #8 | 7/64″ | 1/8″ |
| #10 | 1/8″ | 9/64″ |
If you’re not sure, pick the smaller bit. You can always drill again with a larger size if needed.
Drilling Pilot Holes to the Correct Depth
Drill your pilot hole a bit deeper than the length of the screw. If the hole is too shallow, the screw will hit the bottom before it’s fully in, and the last few turns will be tough.
Forcing a screw at this point can strip the screw head or damage the wood. It’s a common mistake that ruins good work.
To track depth, wrap some tape around the drill bit at the spot that matches your target depth. Stop drilling once the tape touches the surface.
Keep the drill straight and steady as you go. A pilot hole drilled at an angle will send the screw off-course, weakening the joint and making it harder to line up parts.
Using a Countersink Bit for Clean Screw Heads
A countersink bit carves a small cone-shaped recess at the top of your pilot hole. This lets the screw head sit flush with, or a bit below, the wood surface.
Countersinking gives your project a clean, finished look. It also prevents the screw head from catching on clothing, hands, or other objects.
You can buy a bit that drills and countersinks in one go, which saves time on bigger projects. Many of these bits have a small screw so you can adjust the depth for different screw lengths.
Always test the countersink depth on a scrap piece first. This way, you avoid drilling too deep, which can weaken the wood around the screw.
Select Screws and Plan Their Placement
The right screw type, length, and diameter reduce stress on wood fibers before you even pick up a drill. Where you place the screw matters just as much as which screw you choose.
Match Screw Type to the Wood and Joint
The type of screw you pick really changes how much force hits the wood as you drive it in. Dense hardwoods like oak or maple actually need finer threads, since coarse ones shove too much wood aside and end up cracking it. Softwoods, like pine or cedar, do better with coarse-thread screws because the fibers just squish instead of tearing apart.
Standard wood screws with a tapered shank are great for face-frame joints and furniture projects, since they pull the boards together without a ton of force at the tip. If you’re doing structural work, straight-shank construction screws work, but you’ll want bigger pilot holes so things don’t split.
It’s not just about the wood, but also the joint:
- Butt joints: go for wood screws with moderate thread depth
- Face frames: tapered screws pull things tight
- Structural framing: straight-shank deck or construction screws do the job
Choose Appropriate Screw Length and Diameter
The screw should reach at least halfway into the second board, but not poke out the other side. Most furniture projects with ¾” stock need a 1¼” to 2″ screw, depending on how you’re joining things.
Diameter matters too. Thicker screws hold more weight but put more stress on the wood, so they’re more likely to split something thin. Thinner screws are safer for delicate work, but they might not hold as much.
| Screw Size | Typical Use | Pilot Bit (Hardwood) |
|---|---|---|
| #6 | Trim, thin stock | 3/32″ |
| #8 | General furniture | 1/8″ |
| #10 | Structural joints | 9/64″ |
Pick the smallest diameter that still does the job for your joint’s strength needs.
Keep Safe Edge Distance From Ends and Edges
Edge distance gets ignored a lot, but it’s a big reason why wood splits. Keep screws at least three times their diameter away from any edge or end. For a #8 screw, try to stay about ½” back from the edge.
This stuff really matters near board ends, where the cross-grain is weakest. Put a screw too close to the end and there just isn’t enough wood left to resist the threads pushing out.
If you’re working with narrow boards, stagger the screws so they don’t all line up with the same grain. Spreading them out helps avoid one big split running through several screws.
Use Self-Tapping Screws With Care
Self-tapping screws cut their own hole, which can save time for thin or soft woods. But they still shove wood out of the way, so they can split edges or end grain just like regular screws.
Use self-tappers only when you can’t really drill a pilot hole, like for quick assembly or with really soft wood. Avoid them in hardwoods or near board ends, where you need more control over how much wood you’re removing.
End grain connections are especially risky with self-tapping screws, since end grain doesn’t hold as well. A pilot hole gives you more control and helps avoid splitting.
Drive Screws Cleanly Without Cracking Wood
Driving screws well is all about control. You want the right setup, a steady speed, and you need to know when to stop before the wood gives up.
A Step-by-Step Screw-Driving Technique
Start with a pilot hole that matches the screw’s shank. That way, the threads have something to bite without forcing the wood apart.
Set your drill to a low speed. Line up the bit or screwdriver straight with the hole—no angles here.
Apply steady, even pressure. Don’t lean into it or jerk the drill around.
Here’s a quick sequence that works:
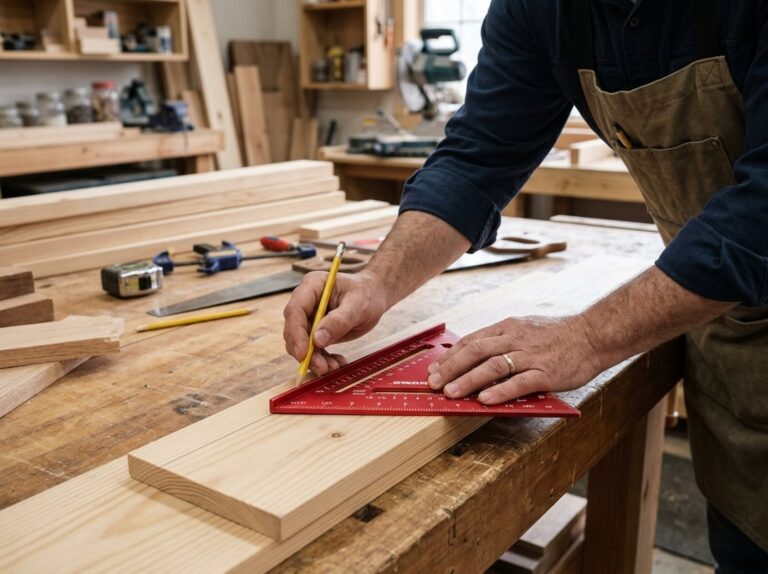
- Mark where you want the screw.
- Drill the pilot hole.
- Countersink the top if you want the head flush.
- Drive the screw slowly and steadily.
- Stop when the head sits snug on the surface.
Going slow at the end really matters. Most cracks show up in the last few turns.
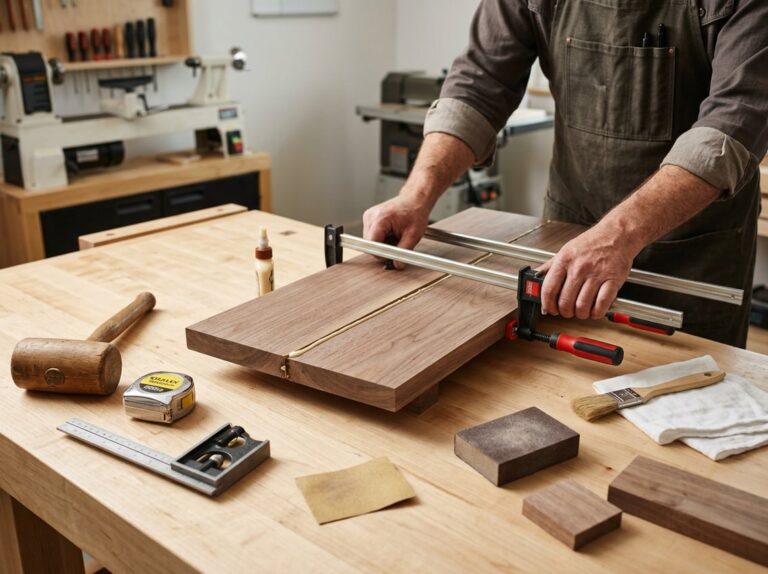
Clamp Parts Before Fastening
Clamps keep your wood from shifting while you drive the screw. If things move, you get uneven pressure, and that’s when cracks happen.
Use two clamps when you’re joining boards. That keeps both pieces flat and tight together.
Clamping also frees up your hands so you can focus on drilling straight instead of wrestling the wood.
If you want extra strength, add some wood glue before clamping. The glue bonds the pieces so the screw isn’t doing all the work.
Let the glue sit for a few minutes before you drive screws. That way, the boards don’t slide around.
Lubricate Threads With Beeswax or Paraffin Wax
Wax cuts down on friction between the screw and the wood. Less friction means less heat and less force needed to drive the screw.
Just rub the screw across a block of beeswax or paraffin before you start. Make sure the threads get a good coating, not just the tip.
This trick is especially handy with hardwoods like oak or maple. Those woods fight back, so wax helps prevent splitting.
Wax also makes it easier to back the screw out later if you need to make changes.
I’d skip soap or oil. They attract dirt or break down over time, while wax holds up.
Stop Before Over-Tightening Damages Fibers
Over-tightening is a classic mistake. Once the screw head is flush or just a little recessed, stop turning.
Keep going and you’ll crush the wood fibers around the hole. That weakens the grip and can cause cracks, especially near the grain lines.
Be extra careful near end grain. Wood splits easier along the grain, so end cuts need a gentler touch.
If you’re using a drill, set the clutch instead of blasting at full power. Most drills let you set torque, so the driver stops when it meets real resistance.
For the last few turns, switch to a hand screwdriver. You get a better feel for when to stop than with a drill.
Protect End Grain and Allow for Seasonal Movement
End grain soaks up and loses moisture way faster than the flat parts of a board. If you ignore this, you’ll see cracks, failed joints, and split slabs faster than you’d think.
Seal Fresh-Cut Ends Before Drying
Cut ends dry out quicker than the rest, which pulls the wood apart and starts splits.
Put an end-grain sealer on the same day you cut. Anchorseal is a favorite with folks who work with green wood or their own lumber. It’s wax-based and slows down moisture loss without sealing it off completely.
If you don’t have a commercial sealer handy, melted paraffin wax works fine. Brush it on thick and cover the whole end.
This step really counts for:
- Green wood that hasn’t dried yet
- Thick slabs from logs
- Any board with checks already showing at the ends
Skip this on fresh cuts and cracks will show up in no time.
Use Finishes to Slow Moisture Exchange
Even after wood dries, you have to manage moisture to prevent cracks. A good finish slows things down on both the end grain and the faces.
Polyurethane forms a tough layer that keeps water out. Varnish does something similar and stands up outside.
If you like old-school finishes, boiled linseed oil soaks in instead of sitting on top. It doesn’t block moisture as well as poly, but it’s easy to refresh.
End grain soaks up finish faster, so give it extra coats compared to the rest. More coverage slows moisture loss better.
No finish stops wood movement for good. It just slows things down, so the wood adjusts slowly instead of all at once.
Design Joints That Let Wide Boards Move
Wood expands and contracts across its width as humidity changes. This seasonal wood movement happens even after the wood is dry and finished.
If you lock a wide board on all sides, it can’t move. That’s how you get cracked panels or busted joints.
Let your joinery flex a bit:
- Use slotted screw holes for tabletops
- Try figure-8 fasteners or Z-clips instead of glue for panels
- Let panels float in a frame, don’t glue them everywhere
- Don’t glue solid wood right to plywood or MDF across a big area
Boards under four inches wide usually don’t cause trouble, even in fixed joints. Anything wider? Plan for movement.
Stabilize Cracks in Slabs and Decorative Wood
Live-edge slabs and wood slices almost always crack as they dry, even if you seal them right. Since they’re cut straight from the log, they’re just more likely to split than regular boards.
Epoxy resin works for small and medium cracks. Pour it in, let it cure, and sand it flush. It looks good on decorative stuff and river tables.
Bigger or structural cracks need bowtie keys. These inlays cross the crack and lock both sides together so it can’t spread.
Pick your fix based on how big the crack is:
| Crack Size | Best Repair |
|---|---|
| Hairline to 1/4″ | Epoxy resin |
| 1/4″ to 1″ | Epoxy resin with reinforcement |
| Over 1″ or structural | Bowtie keys |
Fix cracks early. If you ignore a small one, it’ll just get bigger as the wood keeps moving with the seasons.
Maintain Tools and Avoid Common Beginner Errors
Sharp drill bits and clean tools make for cleaner pilot holes and fewer splits. Most mistakes happen when you rush, force screws, or ignore the grain direction.
Keep Drill Bits Sharp and Clean
A dull drill bit tears wood fibers instead of cutting. That puts extra stress around your pilot hole and raises the odds of splitting.
Check your bits before every project. Look for rounded tips or chipped edges.
Brush off sawdust after each use. Dust and resin make the bit heat up, which dulls it faster.
Store bits in a case or holder, not loose in a drawer. Tossing them around causes nicks that ruin the edge.
Sharpen bits with a sharpener or just replace them if they stop cutting well. A sharp bit is way cheaper than a ruined project.
Use Sandpaper to Prepare Cut Edges
Rough or splintered edges are more likely to split when you drive a screw near them. Sandpaper helps smooth these edges before you drill.
Start with medium-grit sandpaper, like 120 grit, to get rid of splinters and rough spots. Then grab a finer grit, maybe 220, for a smoother finish.
Sand along the grain, not across it. If you go against the grain, you’ll leave scratches that weaken the wood.
This step’s especially important near corners and edges, where the wood’s thinner and more fragile. Spending a few extra minutes with sandpaper can really help prevent a cracked board.
Avoid Forcing Fasteners Into Difficult Grain
Forcing a screw into tight or knotty grain is one of the most common ways beginners split wood. If a screw gets stuck or feels like it’s fighting you, check your pilot hole size.
Common causes of forced fasteners:
- Pilot hole is too small for the screw diameter
- Grain direction runs against the screw path
- Wood is too dry or brittle
- Screw type doesn’t match the wood density
If you hit a knot, drill a slightly bigger pilot hole through it. Knots are denser than regular wood, so they need more clearance.
Don’t hammer a screw to get it started. Use masking tape on your drill bit to mark the right depth, and let the screw pull itself in slowly.
Know When to Repair or Replace Split Wood
You can usually fix small cracks with wood glue. Squeeze glue into the crack, clamp it, and let it dry before you keep going.
For bigger or structural splits, epoxy resin works better. It fills gaps that wood glue just can’t handle and hardens into a strong bond.
But sometimes, a split’s just too much. If the crack runs through a load-bearing section or more than halfway through the board, it’s safer to replace the piece.
This matters most for things like furniture legs, shelves, or anything that needs to support weight. Even if a repair looks fine, it could fail later when you least expect it.
Frequently Asked Questions
Preventing splits really comes down to a few key choices: hole size, screw type, grain direction, and how much force you use. These answers cover the most common problems woodworkers run into.
How can I prevent wood from splitting when driving screws?
Drill a pilot hole before you drive any screw. This removes wood so the screw doesn’t have to push fibers apart, which is what usually causes splits.
Match your pilot hole to the screw’s diameter. Drive the screw slowly and stop as soon as it’s flush. Rushing those last few turns is a classic way to crack the wood.
If you’re working near the edge of a board, try to keep your screw at least an inch from the edge if you can. Edges just don’t have as much wood to resist pressure, so they split easier.
What pilot-hole size should I use for different screw diameters and wood types?
Your pilot hole should match the solid center shaft of the screw, not the outer threads. This lets the threads grip the wood, while the shaft passes through without pushing fibers apart.
Here’s a general size guide:
| Screw Size | Softwood Pilot Hole | Hardwood Pilot Hole |
|---|---|---|
| #6 | 3/32″ | 7/64″ |
| #8 | 7/64″ | 1/8″ |
| #10 | 1/8″ | 9/64″ |
Hardwoods need slightly larger holes because their dense fibers don’t compress as much. Softwoods can handle a smaller hole since the wood gives a bit more.
Which types of wood screws are least likely to cause splitting?
Screws with a sharp, self-tapping point cut through wood fibers instead of just tearing them. Look for screws marked “self-tapping” or “type 17” on the box.
Coarse-thread screws work better in softwoods, while fine-thread screws suit hardwoods. Using the wrong thread pitch for the wood ups your chances of splitting, even if you drilled a pilot hole.
Avoid screws with a big, flat head unless you’re planning to countersink. A flat head that sits on top without a recess puts extra pressure right at the entry point.
How does wood grain direction affect screw placement and splitting risk?
Wood fibers run in one direction, called the grain. Screws driven parallel to the grain, especially near the end of a board, are much more likely to split the wood than screws driven across the grain.
Take a look at the grain before you place a screw. If you have to drive a screw near the end, angle it a bit or move it further from the tip to give the fibers more support.
Don’t put two screws in a straight line along the grain. That just creates a weak spot where the wood could crack between the holes.
How can I drive screws without over-tightening or damaging the wood?
Use a drill with an adjustable clutch. Start on low torque and turn it up only if the screw isn’t going in right.
Stop as soon as the screw head sits flush. If you keep going, you’ll compress the wood fibers around the screw and might cause a crack, even if you drilled a pilot hole.
If you’re using a manual screwdriver, slow down as the screw gets close to its final spot. You’ll feel more resistance right before the head seats, and that’s your cue to stop.
What is the safest way to fasten screws into end grain without splitting it?
End grain is the most fragile part of a board, since the fibers run straight up and down with nothing really holding them together sideways. Always drill a pilot hole here, even if you skip it elsewhere on the project.
Try a slightly larger pilot hole for end grain than you would for face grain on the same board. That extra space gives the screw a bit more room and puts less pressure on those short fibers.
You might add some wood glue to the joint before driving the screw. Glue boosts the holding strength, so you can get away with fewer screws and avoid adding too many stress points in the end grain.