Woodworking is a rewarding hobby, but let’s be honest, it’s not without its dangers. Table saws, routers, and other power tools can cause real injuries if you don’t use them properly. The good news? Most woodworking accidents don’t have to happen if you develop solid safety habits, wear protective gear, and keep your workspace organized.
If you’re just getting started, safety isn’t something to tack on at the end. You really do need to protect your eyes, ears, and lungs from wood chips, dust, and all that noise. It’s also important to learn how to handle tools the right way and set up your workspace so you can work without extra risks.
This guide covers the basics of safe woodworking, from picking protective equipment to using safer cutting techniques. Whether you’re tackling your first project or just want a refresher, these tips should help you work more confidently and avoid the mistakes that can lead to injuries.
Start Every Session With a Safety Check
Before you pick up any tool, take a few minutes to look over your plan, materials, and equipment. A quick safety check at the start of every session lowers your risk of burns, splinters, and more serious injuries.
Plan the Task and Stay Focused
Know what you’re building and how you plan to build it before you start cutting or drilling.
Think through each step. Decide which tools you’ll need and in what order you’ll use them. This helps you avoid grabbing a tool mid-task and getting distracted.
If a cut seems tricky or a tool doesn’t feel right for the job, you can adjust before you start. That kind of awareness goes a long way.
Staying focused is just as important as planning. Don’t rush, and don’t let your mind wander when a blade is spinning. Turn off distractions like your phone. Save the chit-chat for when the tools are off.
Inspect Lumber, Blades, Cords, and Guards
Check your wood before you cut it. Look for nails, screws, staples, or loose knots. This is even more important with reclaimed lumber, since old boards often hide hardware or damage inside.
Next, look at your blades. Sharp tools cut clean and stay in control. Dull blades force you to push harder, which raises the chance of slipping or kickback. If a blade looks worn, sharpen it or swap it out before you begin.
Inspect cords for fraying or exposed wire. Damaged cords can cause shocks or start a fire.
Make sure guards are in place on every tool. Guards protect your hands from sharp blades and moving parts. Never remove them just to make a cut easier.
| Item | What to Check |
|---|---|
| Lumber | Nails, screws, loose knots |
| Blades | Sharpness, cracks, wear |
| Cords | Fraying, exposed wire |
| Guards | Properly attached, not removed |
Prepare for Emergencies
Keep a first-aid kit within reach in your workspace. Stock it with items for small cuts, splinters, and burns, since these are the most common woodworking injuries.
Place a fire extinguisher near your work area, not buried in a closet. Sawdust and wood scraps can catch fire quickly, so quick access matters.
Set up a basic emergency plan before you start any project. Know where the nearest exit is. Know who to call if you get hurt and can’t reach your phone easily.
Fire safety also means clearing sawdust and scrap wood away from heat sources like heaters or lights. A clean, organized space reduces your risk before an emergency ever starts.
Wear Protection for Eyes, Ears, and Lungs
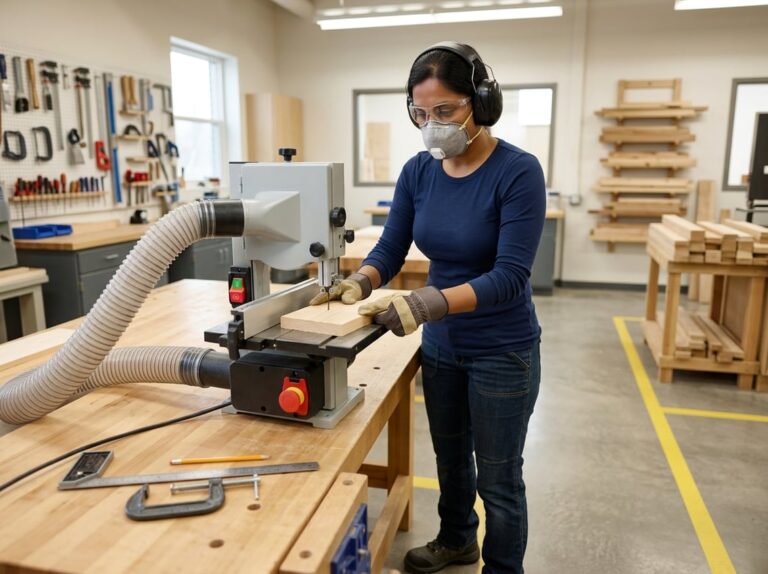
Wood dust, loud tools, and flying debris can hurt your eyes, ears, and lungs over time. The right personal protective equipment (PPE) lowers your risk of injury and long-term damage.
Choose Impact-Rated Eye and Face Protection
Your eyes are exposed to wood chips, dust, and debris every time you cut or sand. Regular glasses won’t stop these hazards, so you need safety glasses or goggles rated for impact resistance.
Look for ANSI Z87.1-rated eyewear. This rating means the lenses can handle high-speed impacts without shattering.
Safety goggles work better than glasses when you’re dealing with fine dust, since they seal around your eyes. If you’re using a lathe, router, or any tool that throws larger debris, add a face shield over your goggles for extra coverage.
Keep a pair of safety glasses at each workstation. This way, eye protection is always within reach, and you won’t skip it because it’s inconvenient to find.
Prevent Noise-Related Hearing Damage
Power tools like table saws, routers, and planers often produce sound levels above 85 decibels. Exposure at this level for extended periods can cause permanent hearing damage.
Hearing loss from tool noise builds up slowly. You might not notice the damage until years later, which is why cumulative hearing loss is often called a silent injury.
You have two main options for hearing protection:
- Earplugs: Cheap, disposable, and easy to carry in your pocket.
- Earmuffs: Reusable and often more comfortable for long sessions.
Some earmuffs include Bluetooth features, letting you listen to music while blocking out harmful noise. Pick whichever option you’ll actually wear every time you turn on a machine.
Use the Right Mask or Respirator for Dust and Fumes
Sawdust particles are small enough to get deep into your lungs. Over time, this can lead to respiratory problems, especially with hardwoods that produce fine, dense dust.
A basic dust mask works for light sanding tasks. But for cutting, routing, or working with finishes and fumes, you need a respirator with a proper filter rating.
| Task Type | Recommended Protection |
|---|---|
| Light sanding | Disposable dust mask |
| Heavy cutting/routing | N95 or better respirator |
| Finishes, stains, solvents | Respirator with organic vapor cartridges |
Check that your mask or respirator fits snugly against your face. Gaps around the edges let dust and fumes slip through, making the protection far less effective.
Dress Safely Around Moving Machinery
What you wear matters just as much as the gear you add. Loose clothing, dangling sleeves, or jewelry can catch on blades, bits, or spinning parts without warning.
Roll up long sleeves and remove any rings, watches, or necklaces before you start a machine. Tie back long hair too, since it can get pulled into moving parts just as easily as fabric.
Work gloves help when you’re handling rough lumber or hardware, but skip them near blades and spinning tools. Gloves can get caught in moving parts and pull your hand in with them.
Non-slip footwear also matters. Closed-toe shoes with solid grip keep you steady on sawdust-covered floors and protect your feet from dropped tools or lumber.
Set Up a Clean and Controlled Work Area
A safe woodshop starts with a stable place to hold your work, clean air to breathe, and a floor that’s free of hazards. If you get these three things right, you eliminate most of the risks that lead to accidents.
Build a Stable Workholding Setup
Your workpiece shouldn’t move on its own while you cut, drill, or sand. A solid workbench gives you a stable base, but the bench alone isn’t enough.
Use clamps or a bench vise to lock the wood in place before you start any cut. This keeps both of your hands free to control the tool instead of holding the material steady.
If your bench is small, add a vise or clamp-on jig to make the most of the space. A step stool can help if your bench is too tall for comfortable reach, since poor posture can cause you to lose control of a tool.
Good workholding keeps your fingers safe and gives you a cleaner, more accurate cut. Never rely on your hand alone to secure a workpiece near a blade.
Improve Lighting, Ventilation, and Dust Control
Bright, even lighting lets you see the cut line and spot hazards before they become a problem. Add task lighting above your bench and saw table if your shop has dim or uneven light.
Ventilation matters just as much as lighting. Wood dust builds up fast, and breathing it in over time can harm your lungs. Open windows or use a fan to keep air moving through the space.
For finer dust control, use these tools based on your setup:
- Dust collector, best for stationary tools like table saws and planers
- Shop vac or shop vacuum, good for hand tools and general cleanup
- Dust collection attachments, reduce airborne sawdust at the source
Wear a dust mask when sanding or cutting, even with a dust collection system running.
Keep Floors, Cords, and Tools Organized
A cluttered woodshop increases your risk of tripping, slipping, or grabbing the wrong tool in a hurry. Sweep sawdust and wood scraps from the floor often, since sawdust can make surfaces slippery.
Keep power cords off the floor or run them along the wall. A cord stretched across a walkway is an easy tripping hazard, especially near moving tools.
Shop organization also means giving every tool a fixed spot. Store hand tools on a wall rack or pegboard, and keep blades and bits in a labeled drawer or case.
When tools are easy to find, you’re less likely to reach into a cluttered space and cut yourself on an exposed edge.
Handle Hand Tools and Power Tools With Control
Every essential woodworking tool, from a simple hand saw to a circular saw, works best when you use it with a steady grip and full attention. Good tool handling boils down to three habits: keep your blades sharp, learn each tool before you use it on a project, and always unplug power tools before you adjust or clean them.
Use Sharp Hand Tools With Safe Hand Positions
Sharp tools are actually safer than dull ones. If you use a dull blade, you have to push harder, and that extra force can make your tool slip.
Keep your chisels, hand saw, and hammer in good shape. Check the edges before you start, and sharpen them when they feel dull.
Your hand position really matters too. Always keep both hands behind the cutting edge of any chisel or knife.
Don’t put your free hand in the path of a blade. When you use a hammer, grip it near the end of the handle for better control and accuracy.
Store hand tools with blade guards or in a tool roll. This protects the sharp edges and keeps your hands safe when you reach for them.
Learn Each Power Tool Before Making a Project Cut
Every power tool has its own controls, safety switches, and quirks. Before you make your first cut, read the manual for your drill/driver, jigsaw, circular saw, or miter saw.
Try each tool on a scrap piece of wood first. You’ll get a feel for how it moves and cuts, and there’s no risk to your project piece.
Before you start, check these things:
- Blade or bit type: make sure it matches your material
- Guard position: see that it moves freely and snaps back
- Power switch location: know where it is without having to look
- Cutting speed setting: adjust it for the type of wood you’re using
Hold power tools with both hands when you can. Always keep your fingers away from the blade path, even if the tool is off.
Unplug Tools Before Adjustments and Maintenance
Unplug a power tool before you change a blade, adjust a guide, or clear out sawdust. Even if the switch feels off, a plugged-in tool can turn on by accident.
This rule goes for every power tool you own, not just saws. For battery-powered tools, remove the battery before you touch the blade or moving parts.
Set the tool down on a stable surface after unplugging it. Make your adjustments slowly and check that everything is tight before plugging it back in.
Make Cuts Without Putting Hands in Danger
Good cuts start before you turn on the saw. Clear marks, a steady board, and the right push tools keep your fingers away from the blade.
Mark Clearly and Support the Board
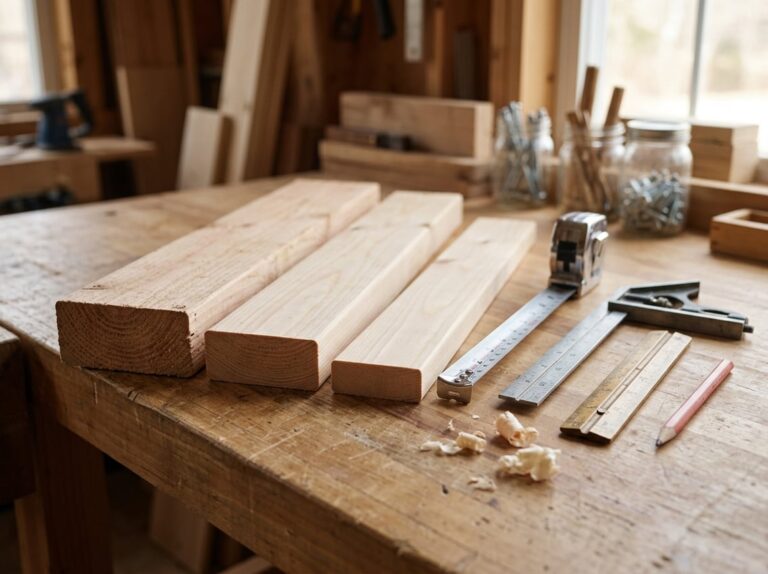
Accurate measuring and marking help you avoid mistakes that lead to rushed, unsafe cuts. Use a tape measure to find your length, and double-check it before you cut.
A combination square lets you draw a straight, square line. For fine joints, a marking knife gives a sharper line than a pencil.
Once your line is marked, support the board fully. If a board wobbles or sags, it can twist during the cut and force your hand closer to the blade.
Use sawhorses, a workbench, or outfeed support to keep the board flat. Never let the offcut piece hang loose near the end of your cut, since it can drop and pull your hand with it.
Use Push Devices for Narrow Stock
Your hands shouldn’t get close to a spinning blade, especially with narrow boards. If the stock is too thin to grip safely, use a push stick or push block.
Push sticks are great for guiding thin strips through a table saw or circular saw. They keep your fingers a few inches from the blade and still let you control the board.
Push blocks cover more area and work well on wider boards that are still too close to the blade for comfort. Keep a few different sizes near your saw.
Featherboards help too. They hold the board against the fence or table, so you don’t need to press with your hand at all.
Prevent Binding and Kickback
Kickback happens when a board binds against the blade and gets thrown back at you. It’s one of the top causes of saw injuries, so preventing it is just as important as keeping your hands safe.
A riving knife, which most modern table saws have, sits right behind the blade and stops the wood from pinching shut. Always check that your riving knife is installed and adjusted before sawing.
Keep your workpiece flat against the fence during the cut. Don’t force or twist the board, since that’s what causes binding.
When you use any saw, stand a bit to the side of the blade’s path. If kickback happens, the board won’t hit you directly.
Build Skills Through Low-Risk First Projects
Starting with simple projects helps you build confidence and skill without big risks. Focus on basic techniques, easy-to-find wood, and careful sanding before moving on to bigger builds.
Practice Measuring, Cutting, Drilling, and Clamping
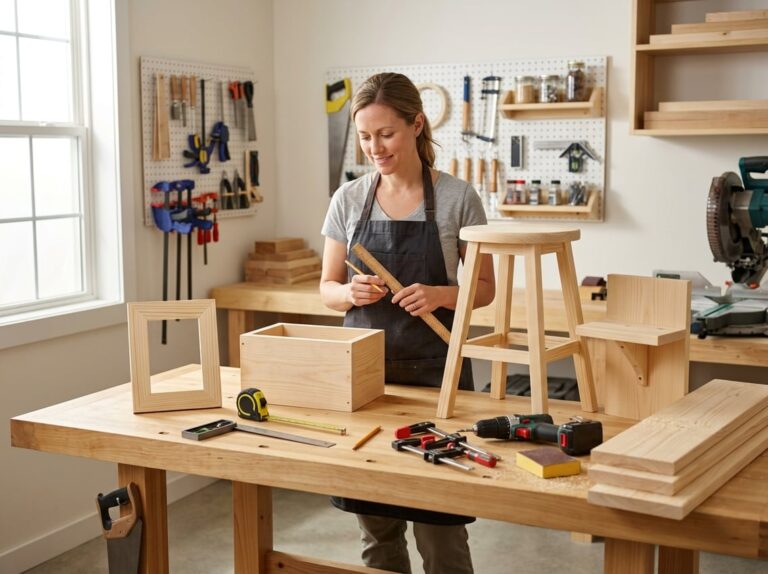
Simple projects are great for practicing core woodworking techniques safely. A cutting board or plant stand is a good start since both use straight cuts and basic joinery.
Before you cut, measure twice. This habit saves wood and lowers mistakes that might lead to unsafe cuts.
Use clamps to hold your workpiece steady. Don’t hold wood with your hand while cutting or drilling; if the board shifts, the tool can slip.
When you use a drill/driver, keep both hands on the tool and brace your workpiece. Go slow at first so you can feel how the bit moves through the wood.
Sand and Finish With Dust Awareness
Sanding and finishing come with their own risks, mostly from wood dust. Fine dust can irritate your lungs, so it’s worth using respiratory protection even on small projects.
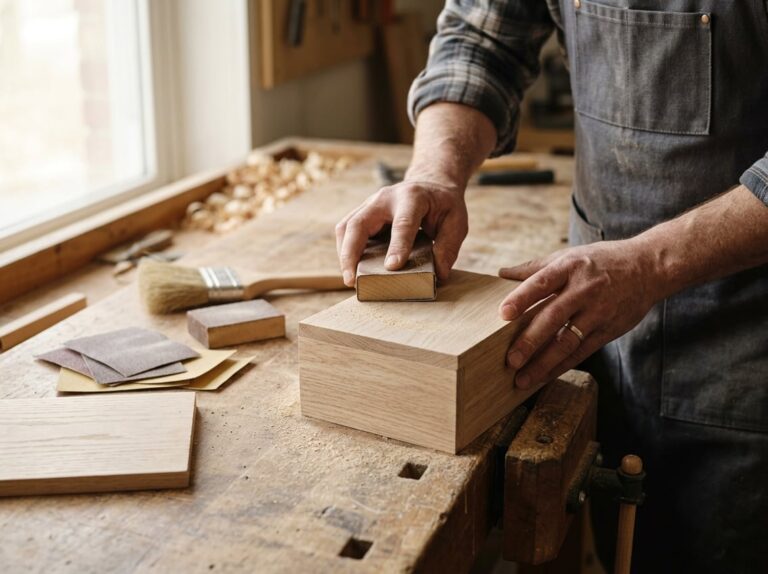
Start with medium-grit sandpaper, then switch to a finer grit for a smooth finish. A sanding block helps you keep even pressure and avoid uneven spots.
Work somewhere with good airflow. If you’re sanding indoors, crack a window or use a fan to clear dust from the air.
Wear a dust mask or respirator whenever you sand, even for short jobs. This protects your lungs from long-term damage that can sneak up over years of small exposures.
Choose Beginner-Friendly Lumber and Projects
Not all wood is easy to work with. Pine is soft, affordable, and forgiving, so it’s a solid choice for your first projects.
If you feel comfortable, you can try harder woods like oak or walnut. These take more elbow grease to cut and sand, but the results are more durable and polished.
Skip exotic hardwoods until you’ve got more experience. Some have oils or dust that can irritate your skin or lungs, and they need sharper tools and more careful technique.
Stick to small, simple builds at first. A basic shelf, box, or stand lets you learn new skills without the stress of a huge, complex project.
Frequently Asked Questions
New woodworkers usually have the same questions about safety gear, workspace setup, and tool handling. Here are some answers to help you build good habits from the start.
What are the most important safety rules for beginners in a wood workshop?
Keep your hands at least six inches from any spinning blade or bit. Don’t remove guards or safety features on your power tools, even if they slow you down.
Always secure your workpiece with a clamp or vise before cutting. If a cut brings your hands too close to the blade, use a push stick or make a simple jig instead.
Keep your workspace free of clutter and sawdust. Trip hazards and slippery floors cause a lot of shop injuries that have nothing to do with the tools.
What personal protective equipment should I wear when working with wood?
Wear safety glasses every time you’re in the shop, not just when you’re cutting. Wood chips and dust can fly when you least expect it, and regular glasses aren’t enough.
Add hearing protection whenever you run a power tool. Foam earplugs or earmuffs both work, and neither costs much.
Use a dust mask or respirator rated for wood dust, especially when sanding or working with hardwoods. Don’t wear gloves near spinning equipment, since loose fabric can get pulled into a blade or bit.
How can I control sawdust and improve air quality in my workspace?
Hook up a dust collector to each major power tool to catch dust where it starts. A basic 1.5 HP collector with 4-inch ducting works well for a small shop.
For fine dust that the collector misses, wear a respirator rated for wood dust. This is especially important during sanding, since fine particles can float around long after you’re done.
Sweep or vacuum your workspace often instead of letting dust pile up. This cuts down on fine particles floating in the air you breathe.
How should I set up a woodworking workspace to reduce accidents?
Give yourself enough space to move around each tool without bumping into things. A cramped shop makes it tough to keep good footing during a cut.
Keep your floor clear of scrap wood, cords, and tools you’re not using. Store sharp tools and blades in a dedicated spot so you always know where they are.
Make sure your lighting is bright enough to see the cut line. Poor lighting makes it easy to misjudge distances near a moving blade.
What is the safest way to handle and maintain woodworking tools?
Check your tools before each use for damage, loose parts, or dull blades. A dull blade makes you push harder, which ups the risk of slipping.
Keep blades and bits sharp, since sharp tools cut more predictably and need less force. Store tools in a dry place to prevent rust, which can weaken them.
Unplug power tools before changing blades or making adjustments. Never carry a plugged-in tool by its cord.
How can I make safe, accurate cuts with saws and other power tools?
Use a rip fence or miter gauge to guide your cut, but don’t use both at the same time on one cut. That way, the wood is less likely to bind and suddenly kick back at you.
Put a riving knife or splitter on your table saw to stop the kerf from closing behind the blade. This simple step really helps keep kickback in check.
Try standing a bit off to the side of the blade’s path instead of right behind it. For narrow rip cuts, grab a push stick or push pad to keep your fingers far away from the blade.