Starting a new hobby always comes with a learning curve, and woodworking is no exception. Some of the most common mistakes new woodworkers make are measuring wrong, picking the wrong wood, misusing tools, sanding the wrong way, and building weak joints. Even little missteps with these basics can turn a fun project into a headache.
The good news? Every skilled builder started out just as green. Learning these woodworking skills early on will save you both time and materials. Once you know why these errors happen, you can catch them before they mess up your project.
This guide covers the woodcraft basics you’ll need to build with more confidence. You’ll get tips for measuring accurately, picking the right wood, using your tools safely, sanding properly, and making strong joints. By the end, you’ll know what causes the usual beginner mistakes and have some tricks to dodge them in your own shop.
Start With a Project You Can Finish
Choosing a project that fits your skill level is honestly one of the most important decisions when you’re starting out. A simple, well-planned build teaches you real skills without draining your wallet or patience.
Why Overly Complex Builds Cause Early Frustration
Many beginner mistakes start before you even pick up a tool. This usually happens when you pick a project that’s just too ambitious for where you’re at.
Complex builds often need joinery, tools, or techniques you haven’t learned yet, so mistakes just snowball.
Each error can throw off the next step, and suddenly a small problem becomes a big one. You might waste wood, end up with a project that doesn’t fit together, or just shove a half-finished piece in the garage and forget about it.
That’s discouraging, honestly. Starting simple lets you focus on one or two new skills at a time, which just feels better.
What Makes a Good First Woodworking Project
The best beginner woodworking projects use basic joints, common tools, and forgiving materials. Look for builds that use butt joints, screws, or pocket holes instead of tricky joinery like dovetails.
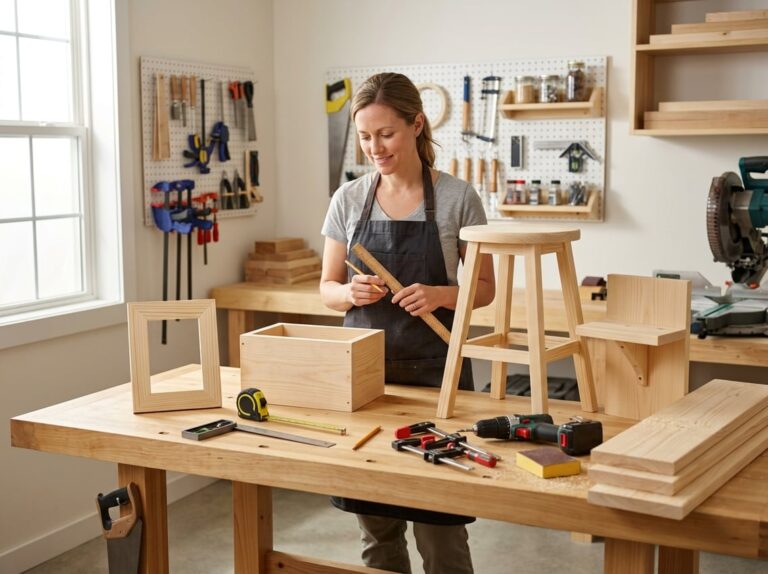
Some good first projects:
- A small shelf
- A step stool
- A simple picture frame
- A basic tool tote
- A garden planter box
These are small enough to finish in a weekend and use standard board sizes, so you don’t need to rip or resaw lumber.
Pick something with flat, square cuts instead of angles or curves. That way, you can really focus on measuring, cutting, and assembling accurately. Those are the basics you need before moving on to trickier stuff.
How to Read Plans and Create a Cut List Before Starting
Before you cut anything, read the whole plan. Make sure you get each step and know what tools you’ll actually need.
A cut list gives you the exact size and number of boards your project needs. Write it out or print it if you can.
Check your cut list against the lumber you have. Make sure you’ve got enough, plus a little extra for mistakes. Mark each measurement clearly on your wood before cutting, and double-check every mark against the plan. A small error here can mess up the whole project. Taking these steps first helps you avoid rework and keeps your build moving smoothly from start to finish.
Measure, Mark, and Cut With Accuracy
Even small measuring or marking errors can throw off a whole project, so accuracy really needs to come first. Picking the right tools, working from one fixed point, and checking your numbers before you cut will save you time, wood, and a lot of frustration.
Use One Reference Edge for Consistent Layout
Pick one edge of your board and use it as your starting point for every measurement. This is your reference edge, and it keeps your layout lines consistent across the whole project.
If you keep switching which edge you measure from, small gaps or bends in the wood can mess up your numbers. Even a slightly warped board can be a problem if you’re not consistent.
Mark your reference edge with a pencil or a piece of tape so you don’t lose track. Then use a combination square to draw straight lines from that edge every time.
This habit matters most when you’re cutting several pieces that need to match, like table legs or shelves. One consistent edge means every piece lines up the same way.
Check Measurements Before Making Rough Cuts
Before you cut, double-check your numbers. This step catches mistakes before you waste any wood.
Measure twice, then mark once. Read your tape measure carefully, especially when the numbers are close together.
Rough cuts are your first cuts on a board, usually made a bit long so you can trim to the final size later. If your rough cut measurement is wrong, every cut after it will be off too.
For rough cuts, a handsaw works well since you have more control and can take your time. No need to rush to the table saw yet.
Here’s a quick checklist before you cut:
- Make sure the measurement matches your plan or drawing
- Check that your pencil mark is on the correct side of the cut line
- Make sure your tape measure isn’t bent or twisted
- Account for the kerf, or blade width, so your final size is accurate
Choose Reliable Measuring and Marking Tools
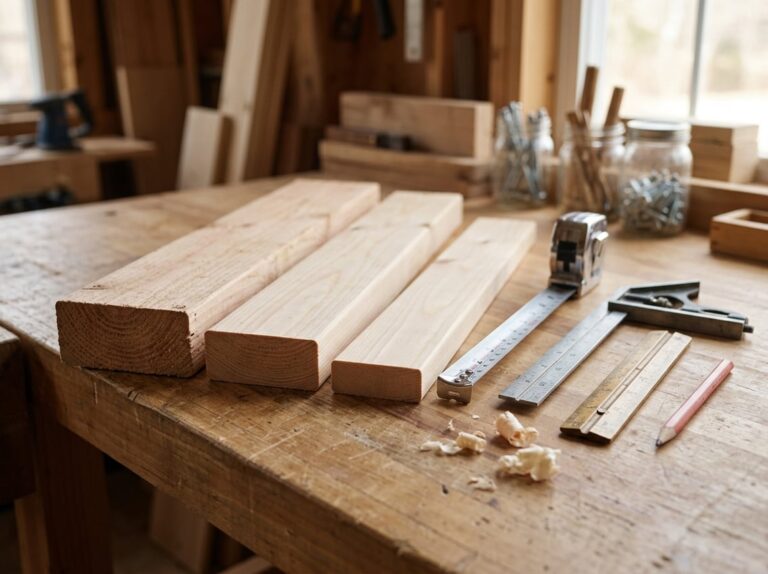
Good tools make it easier to measure accurately. Here’s a basic list:
| Tool | Best Use |
|---|---|
| Tape measure | Long or rough measurements |
| Combination square | Straight lines and checking 90-degree angles |
| Pencil | Clear, thin marking lines |
| Marking gauge | Repeated measurements on multiple boards |
Pick a tape measure with clear, easy-to-read numbers and a metal hook that moves a little, which helps with accurate measurement whether you’re pushing or pulling the tape.
A combination square is super useful for marking straight lines and checking that your cuts are square. Honestly, it’s one of the most reliable measuring tools you can own as a beginner.
Don’t use tools that are worn out or hard to read. A tape measure with faded numbers or a warped square will trip you up, no matter how careful you are.
Choose Wood That Matches Your Skill Level
Picking the right wood can make or break those first few projects. Some woods are pretty forgiving and cut easily, while others just punish beginners with splitting, tear-out, and warping.
Begin With Forgiving Softwoods
Softwoods like pine and fir are your best bet when you’re starting out. They cut easily with basic hand tools, cost less than hardwoods, and let you practice without feeling bad about messing up.
Pine is great for shelves, boxes, and simple furniture. Fir holds screws well and tends to stay straight, so it’s solid for practice builds.
Cedar is another good choice if you want something with a nice smell and natural resistance to rot. It’s common for outdoor projects like planters or benches.
Once you’re comfortable with softwoods, you can try easier hardwoods like poplar or maple. Save the tougher woods like oak, walnut, cherry, and teak for later, after you’ve got the basics down.
Understand How Grain Direction Affects Your Work
Wood grain always runs in one direction, and cutting against it gives you rough, splintered edges. Before you cut or plane a board, check which way the grain lines run.
If you cut or plane with the grain, you’ll get smooth, clean surfaces. Go against it, and you’ll tear up the wood fibers instead of slicing them nicely.
This is even more important with hardwoods like oak and maple, which have strong grain patterns. Softwoods like pine are more forgiving, but grain direction still matters for clean cuts.
Try this: run your hand lightly across the board. If it feels smooth one way and rough the other, that’s the grain direction. Always plan your cuts to work with it, not against it.
Plan for Seasonal Expansion and Contraction
Wood moves, whether you like it or not. It soaks up moisture in humid months and lets it go when the air dries out, so boards expand and contract a bit.
This movement can crack tabletops, jam drawers, or warp panels if you don’t plan for it. Solid wood pieces need small gaps or flexible joinery so they can shift naturally.
Hardwoods like oak and walnut tend to move more than dense woods like maple. Softwoods like pine and cedar move too, though usually not as much.
Before you start a project, let your wood sit in the room where you’ll build for a few days. This helps the boards adjust to the humidity, so you’re less likely to get surprises when you’re done.
Use Tools Correctly and Keep Them Sharp
Your tools only work as well as you keep them. A dull blade or a misused tool will give you bad cuts, waste wood, and make things less safe.
Why Dull Blades Create Rough and Unsafe Cuts
A dull blade doesn’t just slow you down, it tears wood instead of slicing it cleanly.
This leads to tear-out, splintering, and rough edges that mess up your finish. Dull blades also create more friction, which leaves burn marks on your workpiece.
Even worse, a dull blade ups your risk of kickback. If a blade struggles to cut, it can catch the wood and throw it back at you. This is especially dangerous on table saws.
Check your blades before every project. If cutting feels harder than usual, or you see burn marks or torn edges, go ahead and sharpen or replace the blade.
Sharp blades need less force, and you’ll have way more control.
Avoid Forcing Hand Tools and Power Tools
Don’t force a tool through wood. If you’re pushing hard, something’s off.
If you find yourself forcing a tool, it’s probably because:
- The blade or bit is dull
- You’re using the wrong tool for the job
- The tool isn’t set up right
Forcing hand tools like chisels or saws leads to slips and ugly cuts. Forcing power tools is even riskier, since it strains the motor, raises the odds of kickback, and makes the tool tougher to control.
If you feel resistance, stop and check your blade, your setup, and your technique before you keep going.
Let the tool do the work. Your job is to guide it, not muscle it through the wood.
Buy Essential Tools Before Adding Specialty Equipment
If you’re just starting out, you really don’t need every tool you see online or in stores. Stick to the basics: a decent tape measure, a square, a hand saw, a set of chisels, and one solid power tool, like a circular saw or drill.
These core woodworking tools will get you through most early projects.
Specialty tools can be tempting, but they’re rarely essential at the beginning. Before buying anything new, ask if a hand tool you already own can do the job.
If you only need something once, renting specialty equipment usually makes more sense than buying it.
Take your time building up your tool collection. Only add new tools when your projects actually require them. This approach keeps costs manageable and lets you get comfortable with each tool before moving on to the next.
Build Strong, Square Assemblies
Weak or crooked assemblies usually happen because you skip steps, not because of bad luck. Checking your fit, squaring up your parts, and drilling pilot holes will prevent most woodworking headaches before they start.
Dry-Fit Every Part Before Applying Glue
Dry fitting means assembling your project without glue first. It helps you see if everything lines up as it should.
If something’s off, you can still fix it. Once glue touches the wood, you barely have any time to make adjustments.
Spend a few minutes testing each joint. Watch for gaps, mismatched angles, or parts that wobble.
Pay attention to grain direction while you dry-fit. If the grain runs the wrong way, the joint might be weak or could crack down the line.
This step also gives you a feel for wood movement. Wood shifts with humidity, so parts need enough space to move without busting the joint apart.
Use Clamps and Squares to Prevent Misalignment
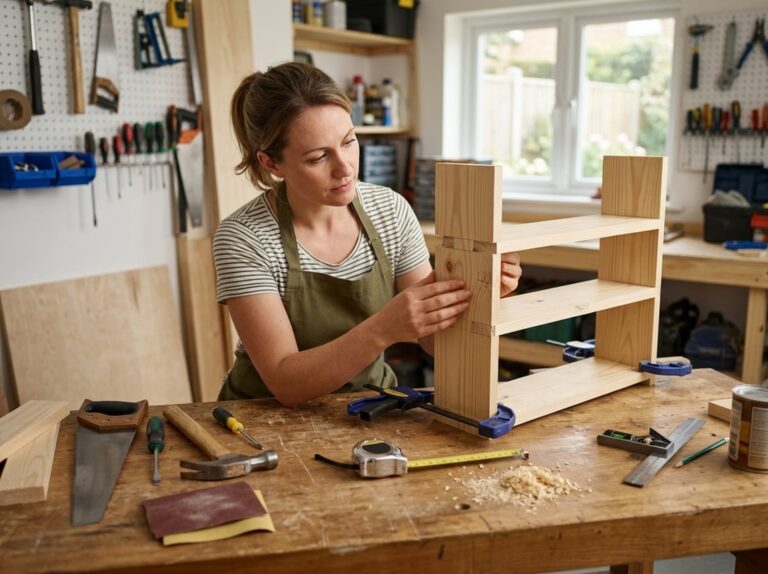
Clamps keep your parts steady while glue dries. Without them, pieces can slide out of place, and you might not notice until it’s too late.
Use enough clamps to spread pressure evenly across the joint. If you use too few, you could end up with gaps, especially near the edges.
A combination square is small but super handy for checking that corners are actually 90 degrees. It catches alignment problems early.
Quick checklist for assembly:
- Clamp one section at a time, starting with the biggest joint
- Check every corner with a combination square before the glue sets
- Measure diagonals across the frame; if they’re equal, it’s square
- Wipe off extra glue right away with a damp cloth
Drill Pilot Holes to Avoid Splitting Wood
Pilot holes are small holes you drill before adding a screw. They guide the screw so the wood doesn’t split under pressure.
This matters most near the ends of a board, where splitting happens easily. It’s also important with hardwoods, since they’re less forgiving than softwoods.
Pick a drill bit that’s just a little smaller than your screw. That way, the screw fits snugly but doesn’t force the wood apart.
Check the grain before drilling. Drilling too close to the edge, or against the grain, can still cause cracks even with a pilot hole.
Sand and Finish Without Hiding Problems
Sanding isn’t just about getting wood smooth. It’s your last shot to fix flaws before stain or finish makes them permanent. If you rush or skip grits, you’ll end up with scratches, tear-out, and burn marks that show up loud and clear once you add finish.
Follow a Grit Progression Instead of Skipping Steps
Start with a coarse grit, usually 80 or 100, to remove machine marks and rough spots. Move up in steps: 120, 150, 180 grit.
Skipping grits leaves deep scratches that finer sandpaper can’t fix. That wastes time and wears out your sandpaper.
Each grit should erase the marks from the previous one. You can skip a single step if you sand longer, but jumping from 80 to 220 grit won’t work well.
Check your work under bright, low-angle light. That makes scratches and flaws much easier to see before switching to the next grit.
Sand With the Grain to Reduce Visible Scratches
Always sand in the same direction as the wood grain. Sanding across the grain makes scratches that are tough to get rid of later.
Cross-grain scratches often don’t show up until you add stain or finish, and then they really stand out.
On flat surfaces, use a sanding block to keep pressure even. That helps you avoid digging into softer parts of the wood.
Be extra careful near edges and where the grain changes, since these spots are more likely to splinter or tear if you’re not careful.
Inspect Edges and Surfaces Before Applying Finish
Before staining or finishing, check every surface for leftover flaws. Pay close attention to edges, corners, and spots where tear-out might’ve happened during cutting or routing.
Wipe the surface with mineral spirits or a damp cloth. That raises the grain a bit and shows scratches, splinters, or burn marks that dry wood can hide.
Burn marks from routers or saw blades won’t sand out with fine grits. You might have to go back to a coarser grit or use a scraper first.
Fix problems now. Once you add finish, any hidden flaws become permanent.
Make Safety a Habit From the First Cut
Good safety habits protect your hands, your eyes, and your project right from the start. Simple things like wearing proper gear, watching for kickback, and keeping your workspace tidy can prevent most newbie injuries.
Wear the Right Personal Protective Equipment
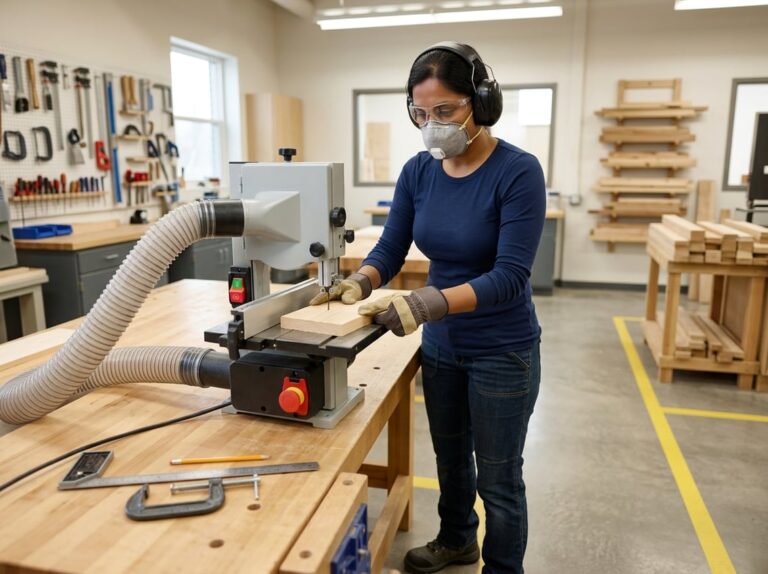
PPE should be part of your routine, not an afterthought. Put on safety glasses every time you cut, drill, or sand, even for quick jobs.
Wood dust and loud tools can cause damage that sneaks up on you, so protection matters even for small tasks. Use hearing protection during long stretches with power tools like saws, routers, or sanders.
Wear a dust mask or respirator when sanding or cutting, since fine wood dust can mess with your lungs over time. Keep your PPE nearby so you actually use it, not just when you remember.
Prevent Kickback and Keep Hands Clear of Blades
Kickback happens when a blade catches the wood and throws it back at you. It’s one of the main reasons people get hurt on table saws.
To cut down the risk, always use a sharp blade. Dull blades push the wood instead of slicing it, which makes kickback more likely.
Keep these habits in mind when making cuts:
- Use a push stick or push block for narrow pieces
- Stand a bit to the side of the blade, not right behind it
- Keep the blade guard on whenever you can
- Never reach across a moving blade
Sharp tools make cleaner cuts and you don’t have to force them, which helps keep your hands safer.
Keep the Workspace Clean and Work at a Controlled Pace
A messy workspace means more chances to trip, knock things over, or lose focus. Clear away offcuts, sawdust, and cords before you start a new cut.
Working at a steady pace matters just as much as keeping things tidy. If you rush, you’ll probably skip safety checks and make mistakes.
Take breaks if you’re tired or distracted, since fatigue slows your reactions. Staying calm and organized helps keep both you and your project safe from start to finish.
Turn Mistakes Into Better Skills
Mistakes come with learning woodworking, and honestly, everyone makes them. What matters is what you do next, since every error can teach you something for your next project.
Review What Went Wrong Before Starting Again
Before you toss a ruined board, take a minute to figure out what happened. Was it a measurement slip, a dull blade, or just rushing?
Jot down what went wrong in a notebook or on your phone. Over time, you’ll start seeing patterns in your mistakes.
If you keep cutting boards too short, maybe you’re not accounting for the saw blade’s width. Once you spot your common slip-ups, you can add quick checks to your process, like double-checking measurements before every cut.
Practice Techniques on Scrap Wood First
Scrap wood is one of your best learning tools. Instead of testing a new joint or finish on your project, try it on a leftover piece first.
You can mess up on scraps without wasting good wood or time. Test drill angles, sanding methods, or stain colors on pieces that match your project wood.
Keep a small pile of offcuts near your bench for this. Over time, practicing on scraps builds muscle memory and confidence, so when you tackle the real project, your hands already know what to do.
Learn Gradually Through Projects and Communities
Woodworking gets easier the more you do it. Start with simple builds like a shelf or box before jumping into big furniture pieces.
Every project teaches you something new, whether it’s making a straight cut or fitting joints tightly. Don’t rush into complicated designs before you nail the basics.
Woodworking communities, both online and local, can help when you get stuck. Chances are, someone else has already solved the same problem.
Classes, forums, and social media groups are great for asking questions and sharing your progress. Learning from others speeds things up and helps you dodge common beginner mistakes.
Frequently Asked Questions
Most beginners run into the same problems: bad measurements, poor wood choices, unsafe tool habits, rough sanding, and loose joints. Here are some quick tips on each one.
What are the most common measurement mistakes beginners make in woodworking?
The biggest mistake is forgetting about the kerf, which is the width your saw blade removes during a cut. If you mark two cut lines on a board and don’t account for the kerf, your pieces will come out shorter than you planned.
Another common slip is measuring once and cutting right away. Experienced woodworkers measure twice, sometimes three times, before making a cut.
Don’t swap between different tape measures or rulers during a project. Tiny differences between tools can throw off your measurements and cause gaps or misaligned parts.
Stick with the same measuring tool from start to finish. Mark your cut lines clearly with a pencil and a square, not just a rough guess by eye.
How do I choose the right type of wood for my first project?
Pine is a solid choice for beginners. It’s soft, affordable, and easy to cut, sand, and shape with basic tools.
Hardwoods like oak or maple are tougher and last longer, but they’re harder to work with and pricier if you mess up. Save those for after you’ve done a few softwood projects.
Check for straightness before buying wood. Look down each board to spot any warping, twisting, or bowing.
Pay attention to moisture too. Wood that’s too wet will shrink and crack as it dries, so let new lumber sit in your workspace for about 48 hours before you start cutting.
Which safety and setup mistakes should I avoid when using woodworking tools?
Skipping safety gear is a common beginner mistake. Always wear eye and hearing protection when using power tools.
Kickback is a major cause of injuries, especially with table saws. Use a push stick for narrow cuts and make sure your blade guard is in place.
Dull blades and bits are sneaky hazards. You have to force them, which makes slipping or kickback more likely.
Before you cut, make sure your workpiece is secure and your workspace is clear. Most accidents happen when you rush through setup.
How can I prevent tear-out, scratches, and uneven surfaces while sanding?
Tear-out happens when you sand or cut against the wood grain instead of with it. Try to run your sandpaper in the same direction as the grain, not across it or against it.
If you skip grits while sanding, you’ll probably end up with scratch marks that fine sandpaper can’t fix. It’s tempting to rush, but it just doesn’t work out.
Work through the grits in order: start with coarse, move to medium, then finish with fine sandpaper. Each step wipes out the marks from the previous one, so don’t cheat the process.
Clean your work surface between grits. If you leave dust or old grit behind, it’ll scratch the wood on your next pass and undo your progress.
Why do my wood joints fit poorly, and how can I improve them?
Poor-fitting joints usually come from inaccurate measurements or cuts that aren’t perfectly square. Even a tiny gap, like 1/16 inch, can make a joint weaker and not so nice to look at.
Double-check that your saw blade sits at a true 90-degree angle before you cut joint pieces. If the blade’s off, every cut after that will be off, too.
Dry-fit your joints before adding glue. Just put the pieces together without adhesive to see how they fit and tweak things if you need to.
If a joint feels loose, don’t try to fix it by piling on extra glue. Instead, trim the piece a bit or use shims to fill small gaps. You’ll get a tighter, sturdier joint that way.
What should I check before cutting or assembling a woodworking project?
Before you make any cuts, double-check your measurements with your cut list. That cut list is basically your roadmap, showing every piece you need and the exact sizes.
See if your blade or bit is sharp and free of gunk. If there’s resin or dust built up, you’ll probably end up with burned edges or rough cuts.
Let your wood settle in your workspace for a while, especially if it’s new to your shop. If the wood hasn’t had time to adjust to the room’s humidity, it could end up warping or cracking later on.
Try a dry fit with all your pieces before you start assembly. This quick test helps you spot measurement slip-ups or joint issues before you get stuck with glue or fasteners.